Somewhere in summer 2015, my friend Keishi from KNaviation sent me a link to an artist rendering of an airplane of previously unseen beauty. The second I watched the All Nippon Airways’s R2D2 Boeing 787 pre roll-out rendering, I knew I had to make one myself some day.
In may 2015, i had started to follow some Blender tutorials. I had given 3D modeling software a few tries before, namely Autocad or Sketch up, but never worked on a bigger project. I remember the first time I decided to learn Blender. After installing it and starting it up I thought this was the most complicated software I had ever seen. Intuition was useless here. You wanna be in the game, you need to learn. It seemed like the learning curve would be pretty hardcore, and indeed, it was. I started with a few tutorials, the first were pool balls and a snowman. Pretty cool i thought! Here’s the pool ball tutorial if you’re interested in seeing the process behind this render.
Learning the hard way
After the tutorials, I immediately dove into the subject. It wasn’t a pretty sight. But it got me started, mainly on basic modeling and materials, and the multiple shortcuts in Blender that have to become second nature in order to be efficient.
At that point, i didn’t do much modeling besides spending a few hours trying to perfect these models and doing a few tutorials here and there.
The following is a detail but I think it is an interesting one. In a 3D software, or any 2D media, the 3rd dimension exists only in your head, really. Blender and other softs do their best to make it easier to visualize, by adding shade, transparency and using colour. But in the end, a 3d cube can have 2 simultaneous realities in a non shaded visualisation:
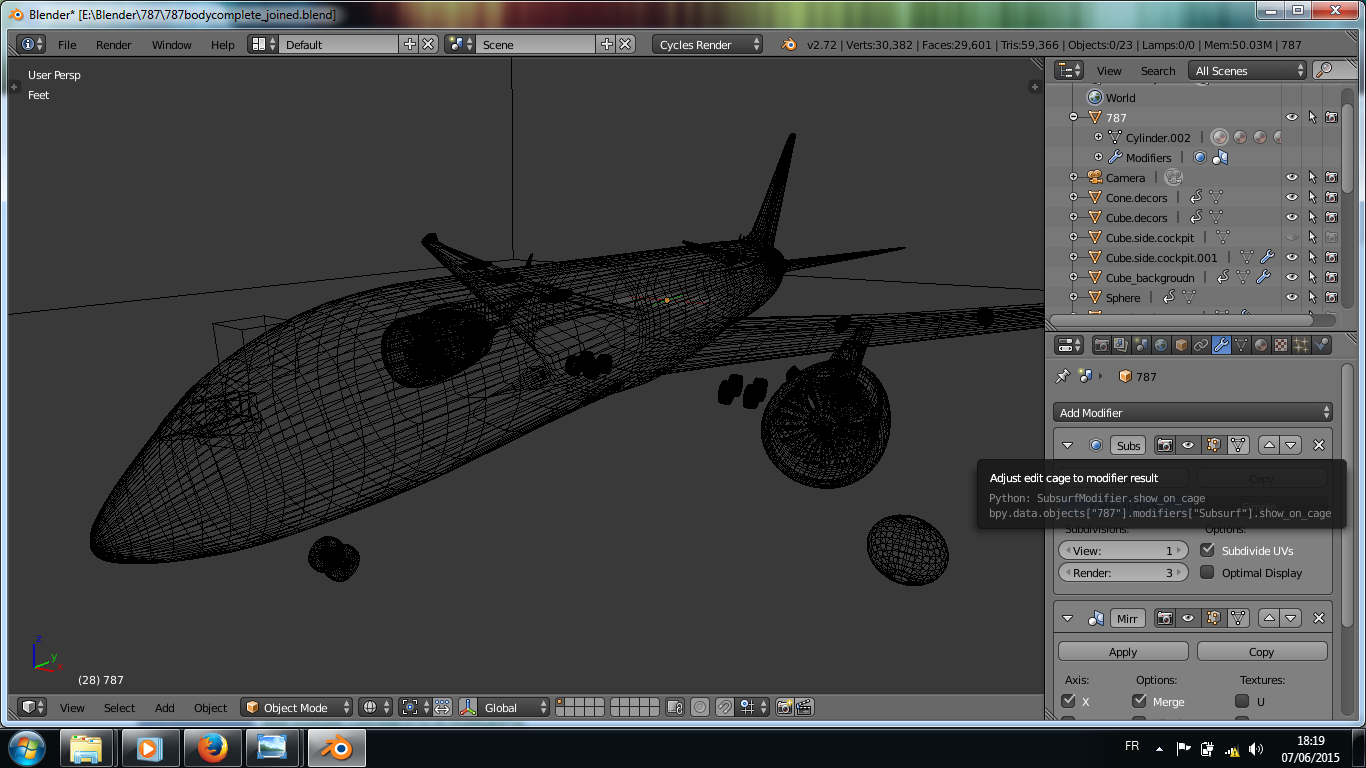
 Can you see both cubes? My brain was massively overloaded by this mental exercise in the beginning. Especially when working in “wireframe” mode :
The cat technique
Often, you have to juggle between different styles of visualisation (wire frame, solid, etc), make the surface of the object transparent, depending on what sort of thing you want to modify (vertex, edge loop, face).
Another way to “get oriented” is similar to what cats and other animals that like to jump use. If you look at a scene without moving, it can be difficult to estimate distances. If you move your head side to side a few times, you can sense perspective better. In a 3D soft, you do this thing routinely by rotating slightly the camera back and forth. Check out this wigglegram that illustrates better what i mean.
Switching between orthographic view (as if seen from an infinite distance) and perspective view is also useful in different phases of modeling. In general, renders are made in perspective view, as orthographic view is less appealing (you can judge for yourself below). It can be useful for making blueprints though.
What’s interesting about modeling is that the most complicated objects always start with one of the basic shapes : sphere, cylinder, cube, and a few others. Then it’s all about hacking your way to the desired shape.

There are many things to learn. Basic modeling, detailing, using modifiers, constraints, lighting, materials, rendering… Thankfully you are usually a few google searches away from resolving wild road blocks that appear all the time.
Time for the 787
My main goal here was to make a visual model, not to model every part or create moving surfaces, nor make it exactly to scale. After all, Blender is an artistic tool, not a CAD tool.
Here are a few renders illustrating the progress of the 787 project, that took about 80-100 hours to to complete.
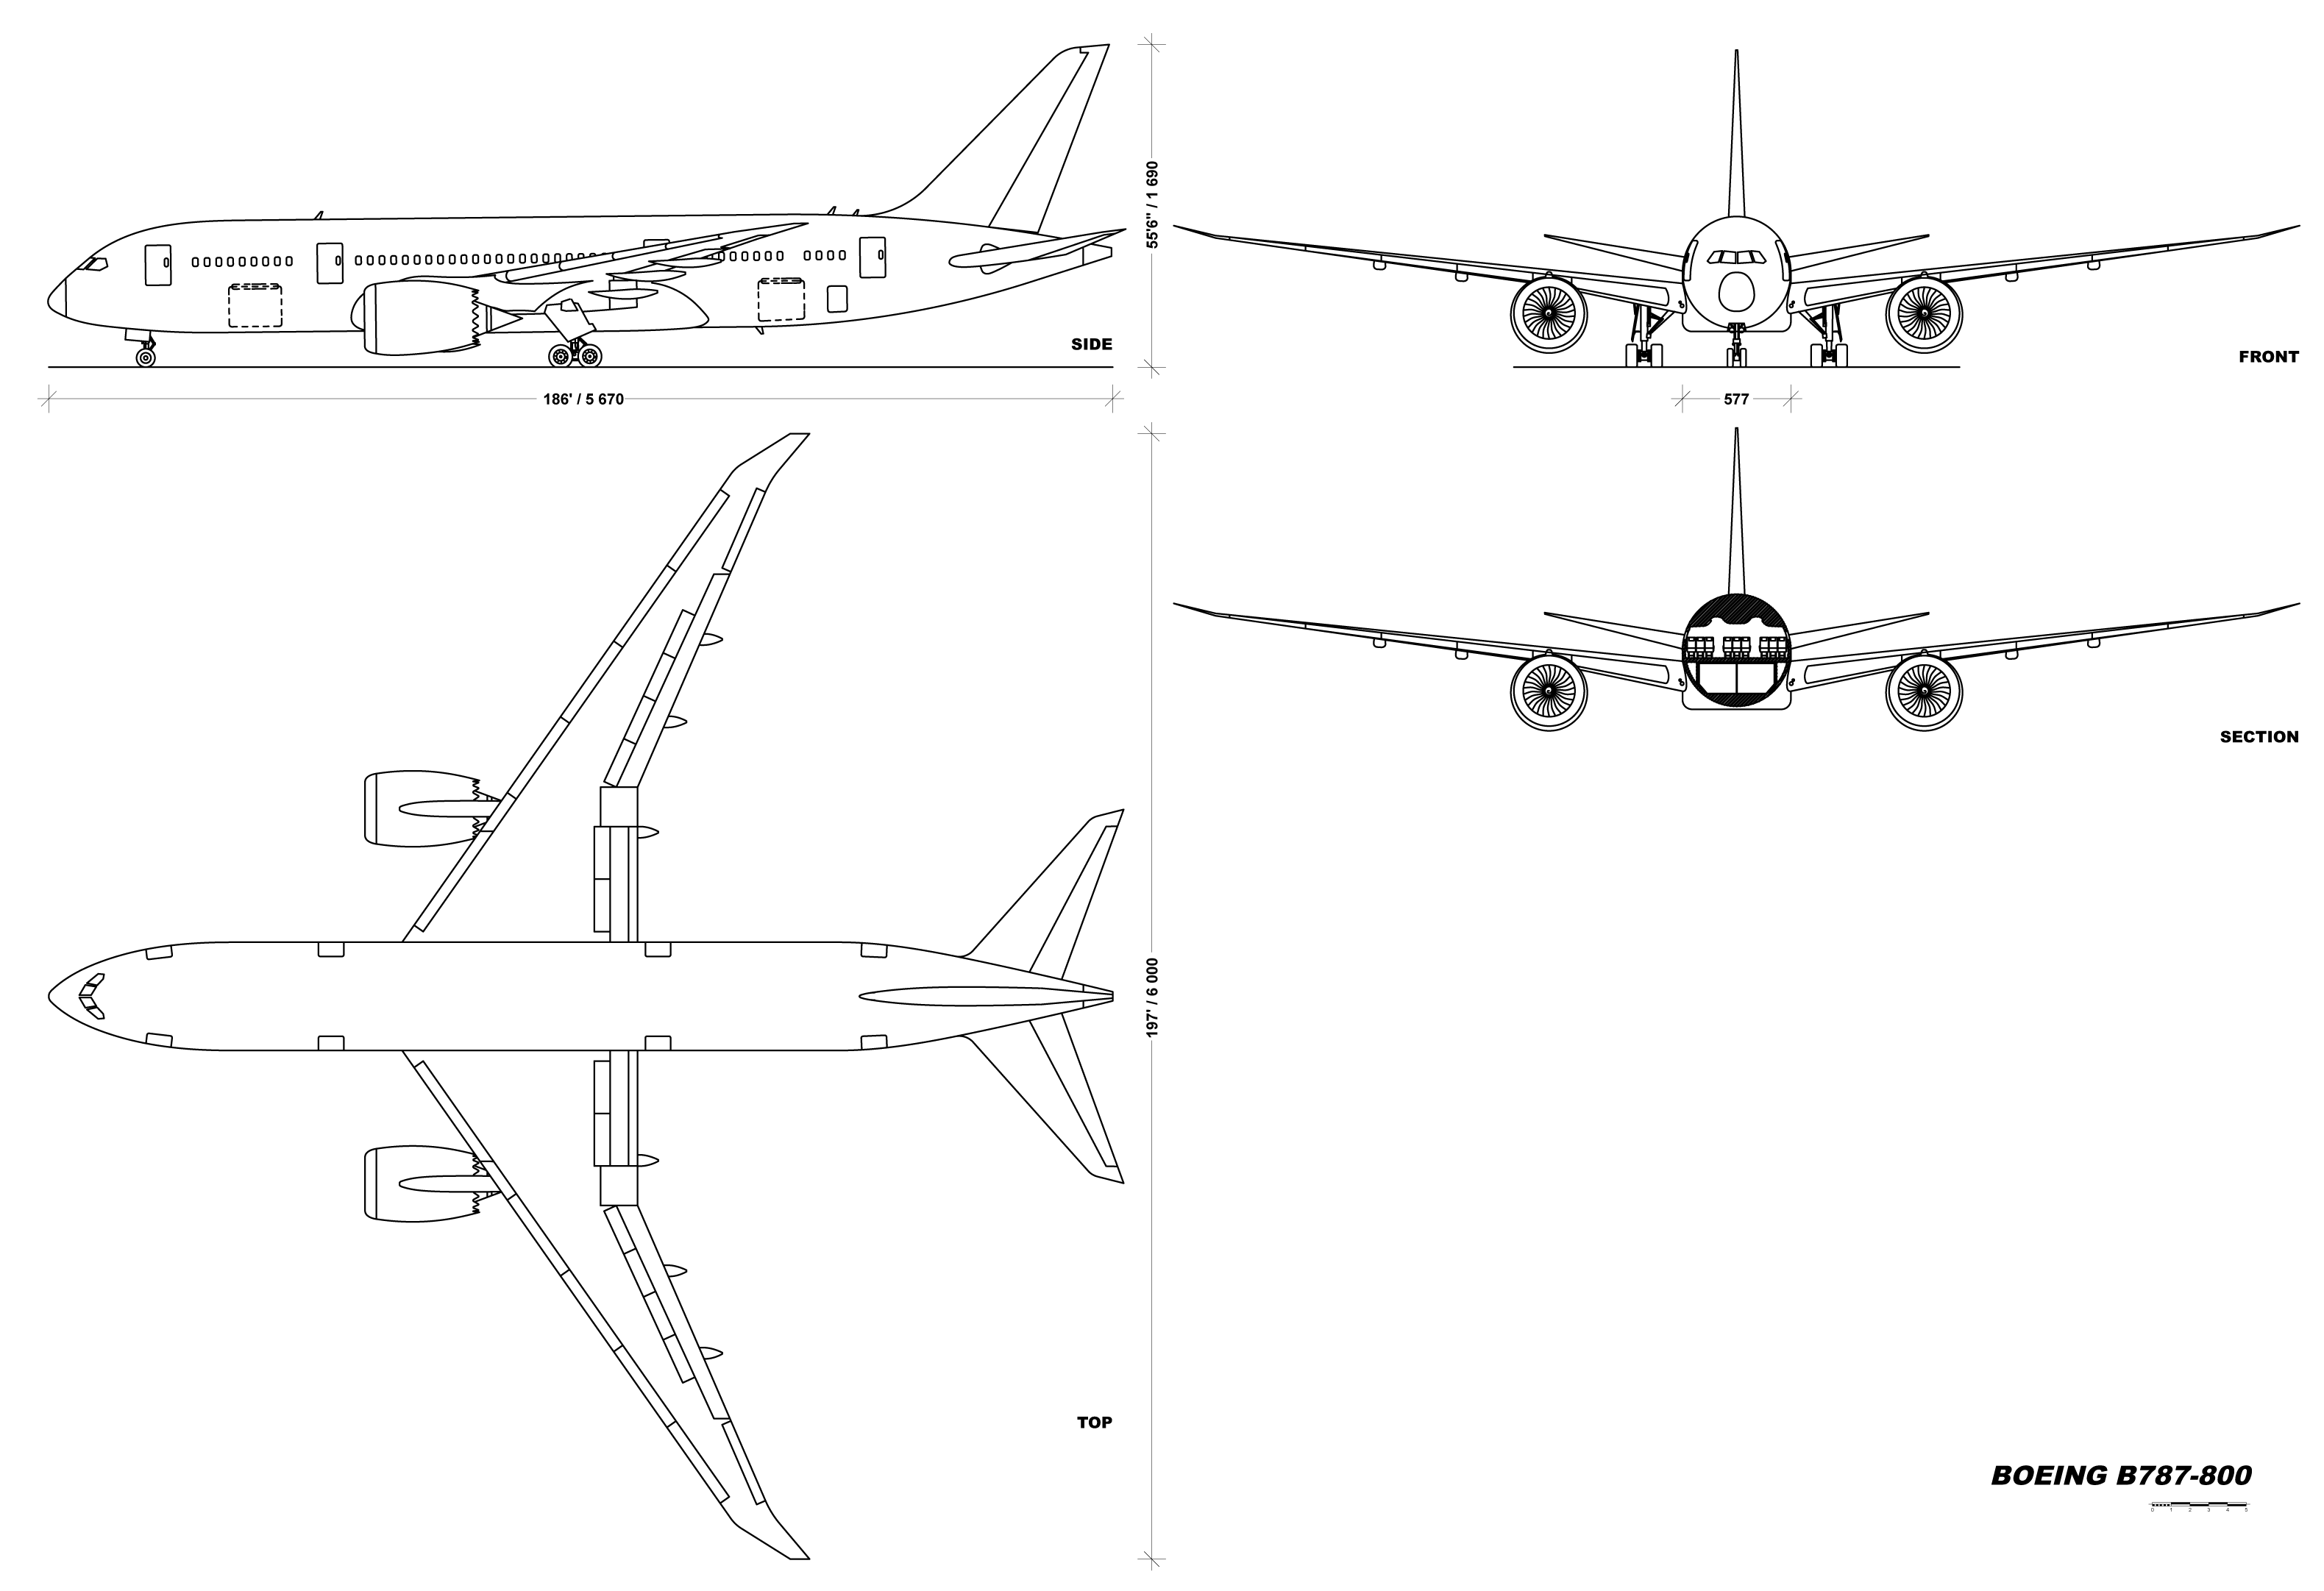
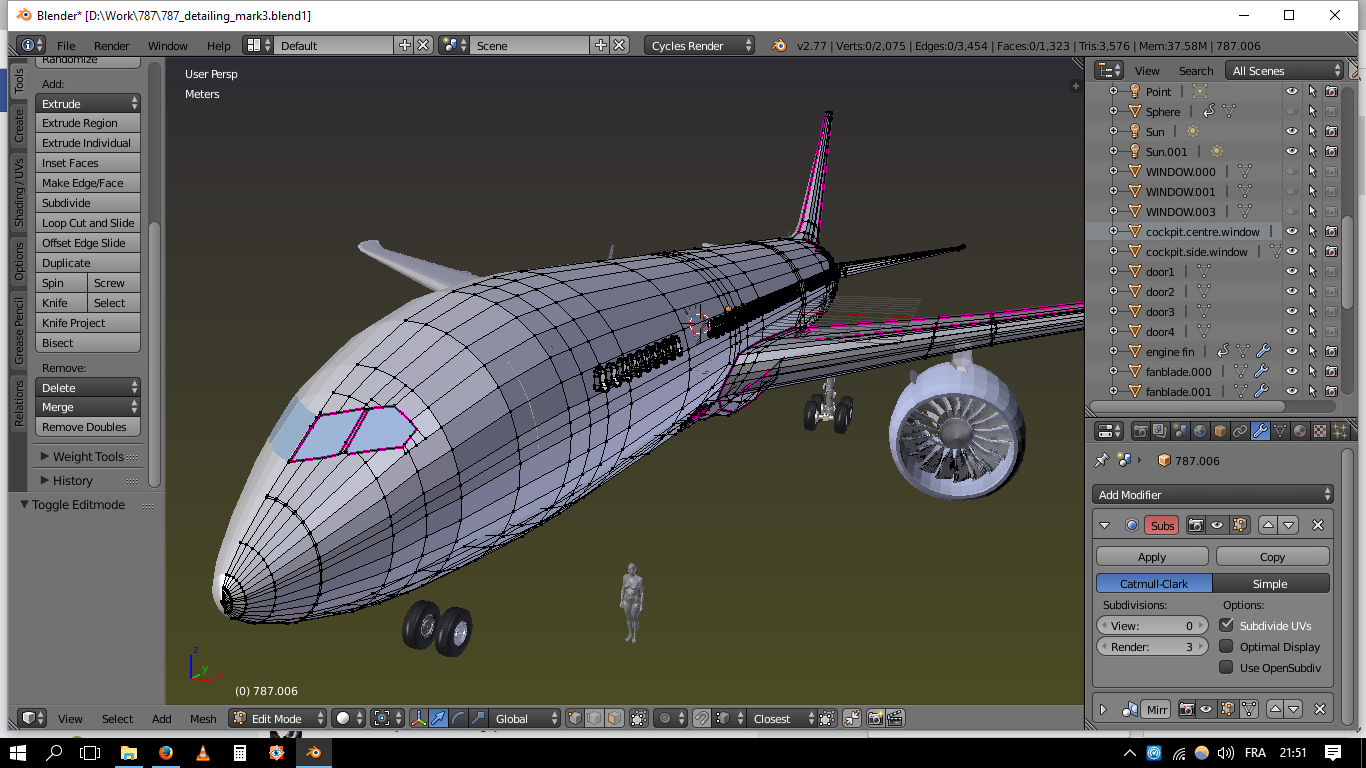
The basic fuselage modeling is probably the easiest. It starts from a cylinder. By using blueprints for the top, side and front view, it is then possible to create the basic shape of the body.
Ooooh, there’s a knife tool…
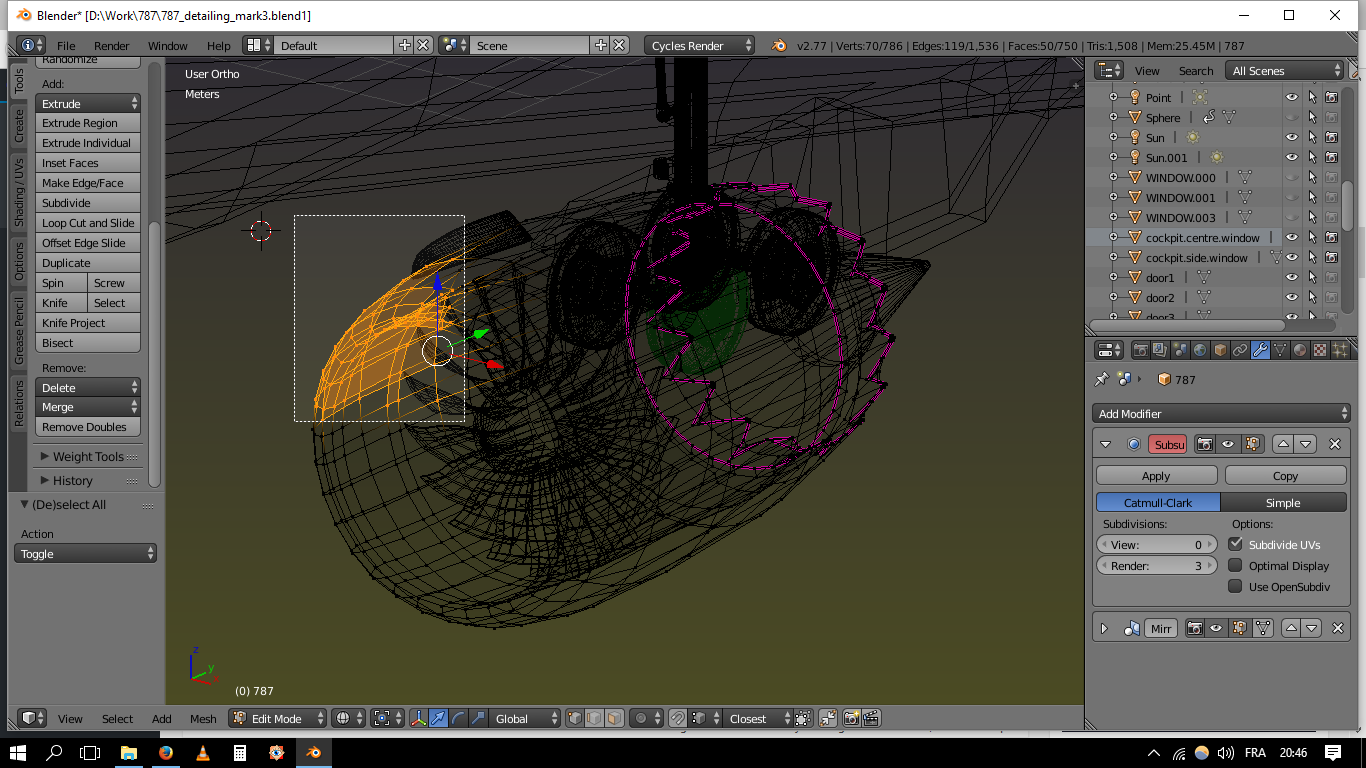
The most difficult part was by far the cockpit windows, they took me probably 5-6 hours and a many tries to shape (and eventually learning the knife tool). I first tried to use the blueprints in side and top view, but it just didn’t work, they would never fit in both views. The problem was i didn’t have any references like i would in a CAD model. So i ended up creating a square that ended up being a weird polygon, that helped me eyeball the windows using the intersect modifier. When I was happy with the look, I cut out the windows with the knife tool.
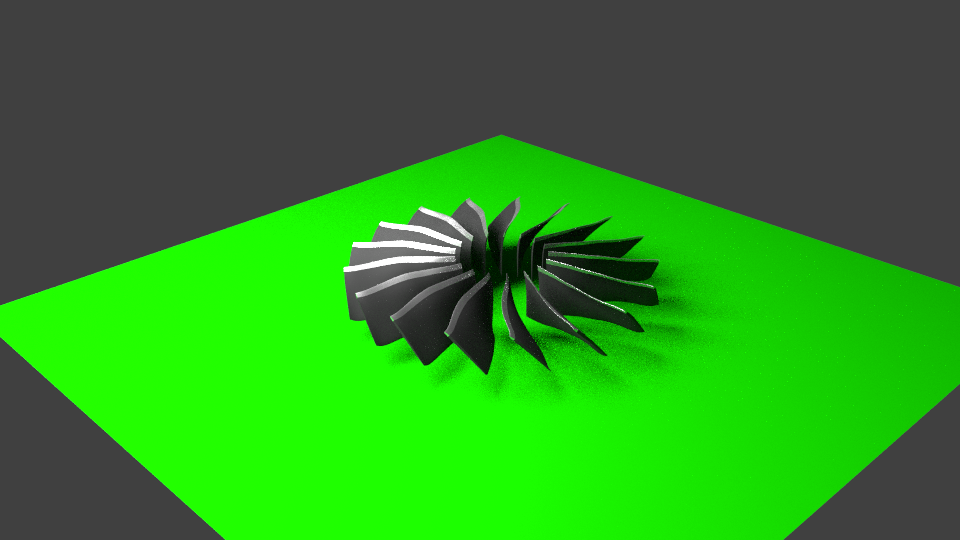
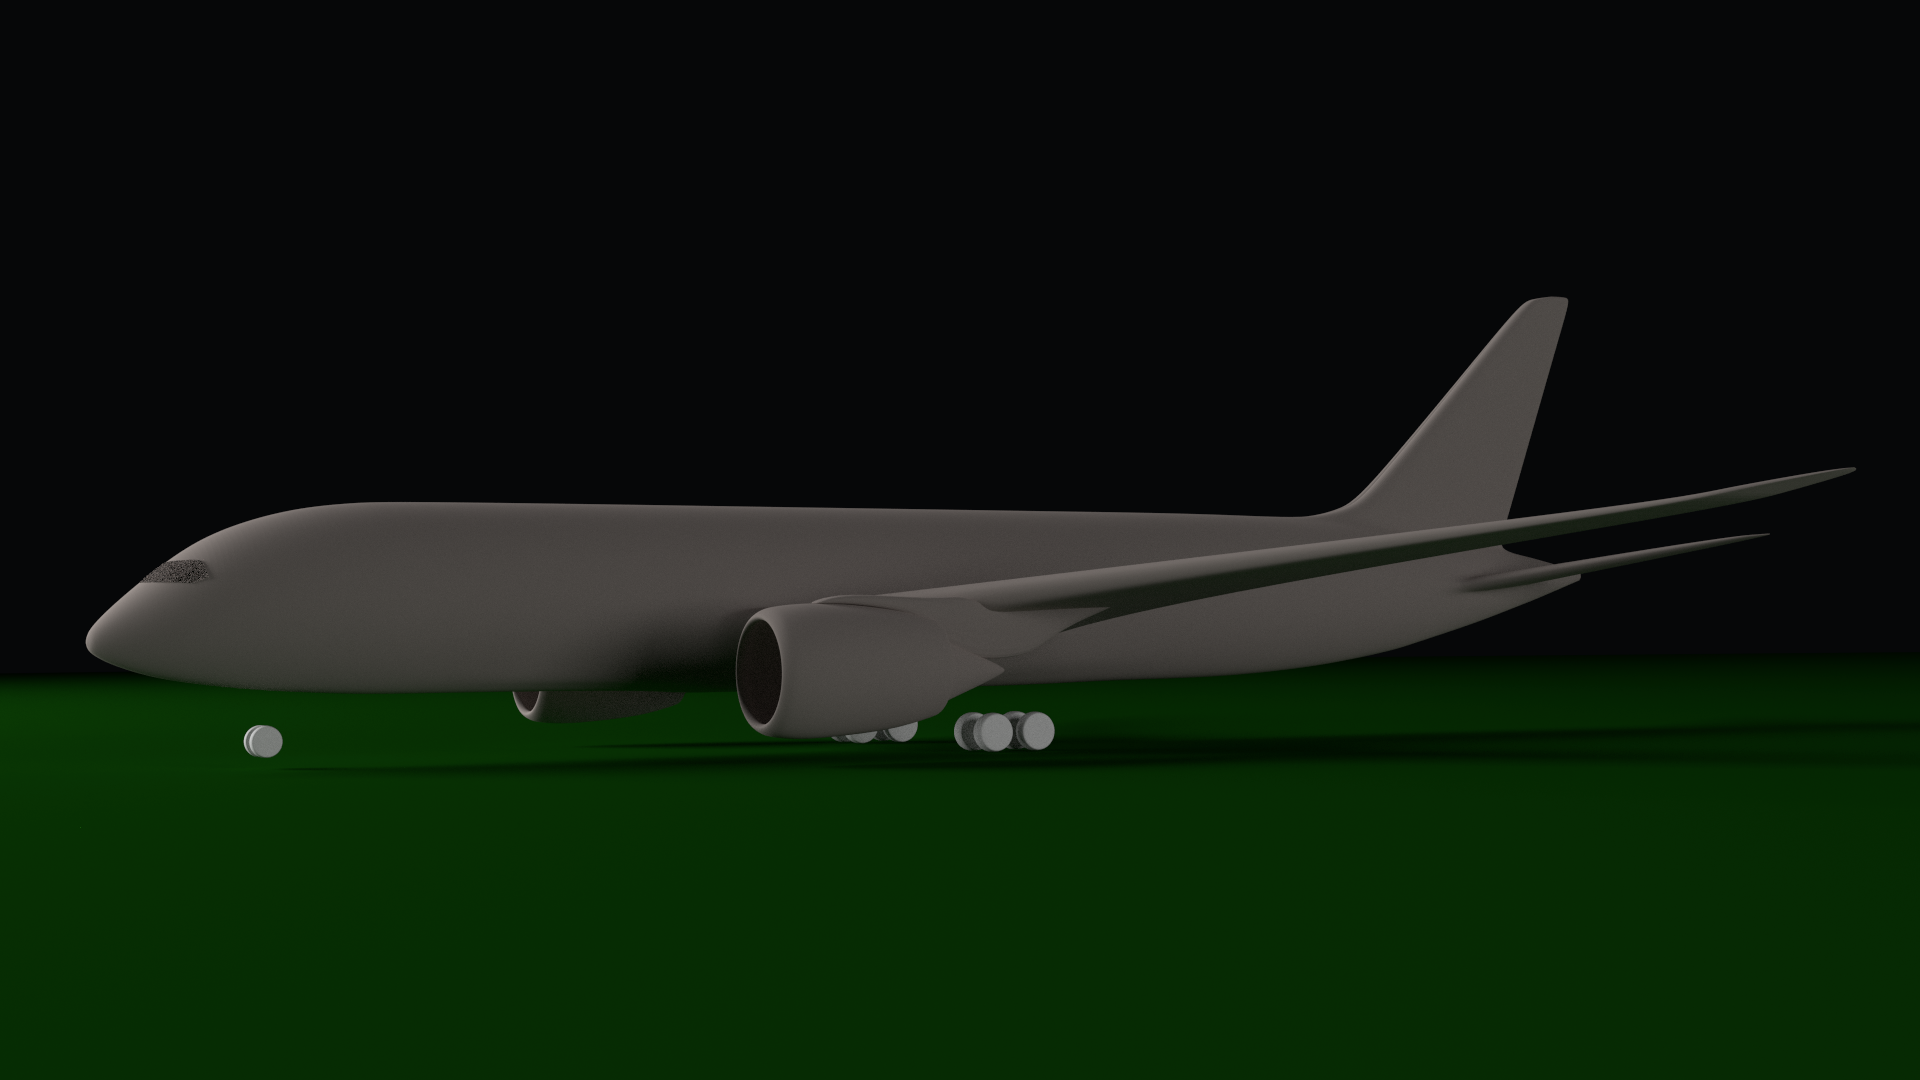
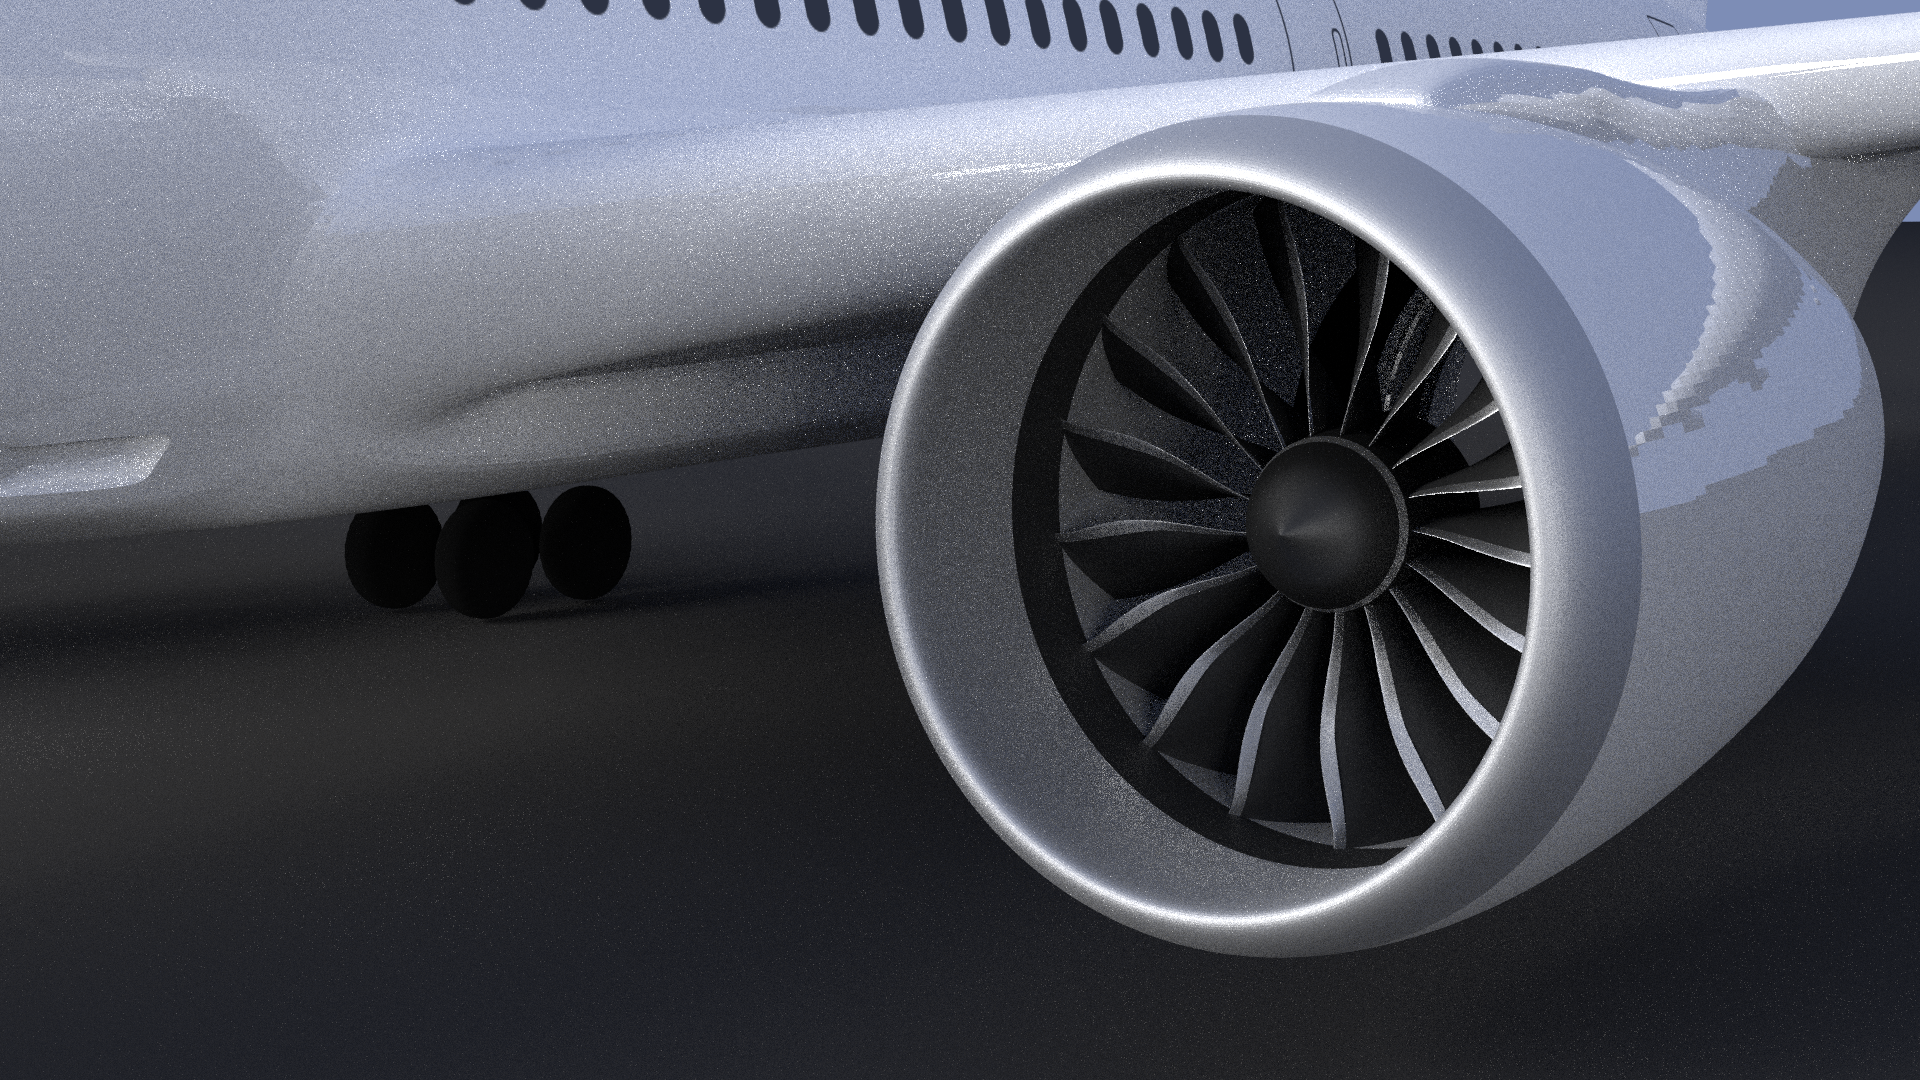
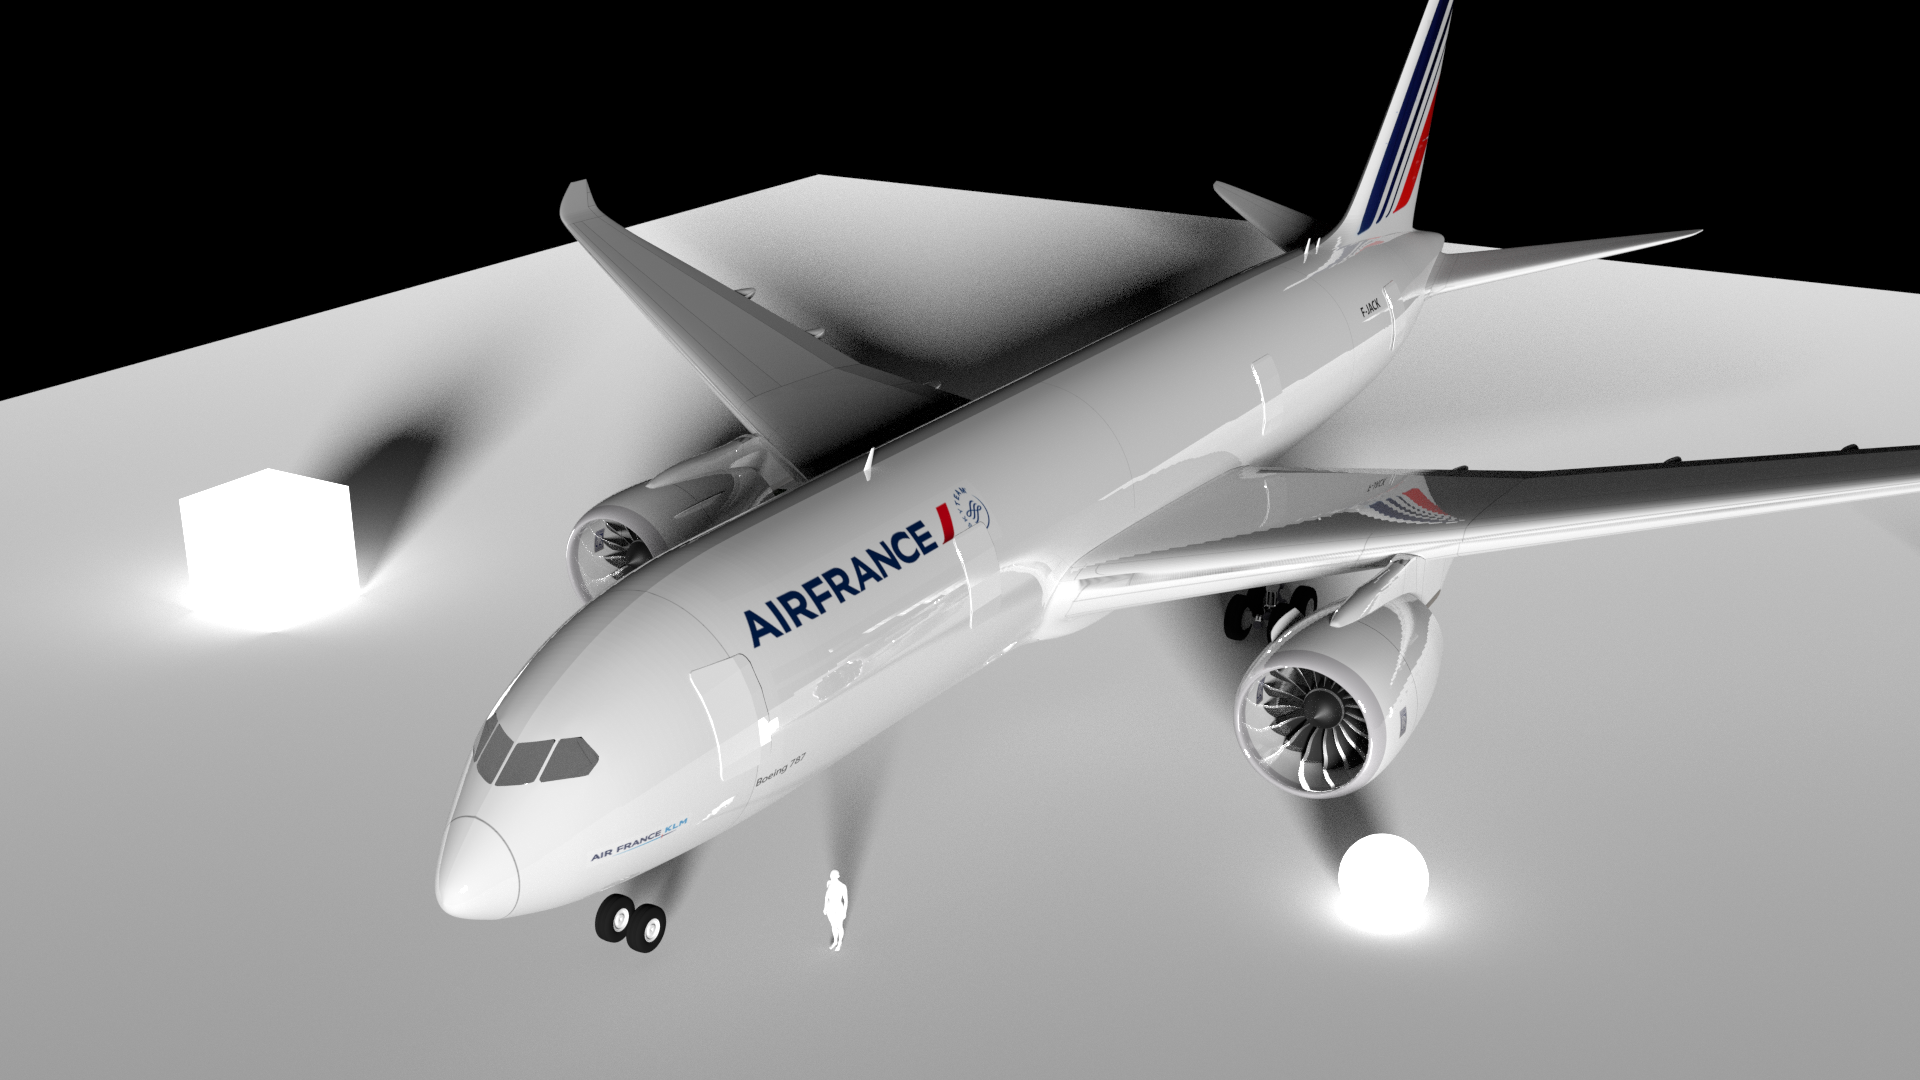
If you look at the next render, you can see the reflection on the engine cowling looks somehow pixellated. That is due to the fact that all modeled surfaces are made of a finite and user defined number of polygons. In this case, the seemingly smooth surface is achieved by sub-dividing the original low polygon surface (see wire frame image higher in the article). At each subdivision lever, the number of polygons is multiplied by 4, so it adds up quickly.
More subdivision = smoother surface = exponentially longer computation time
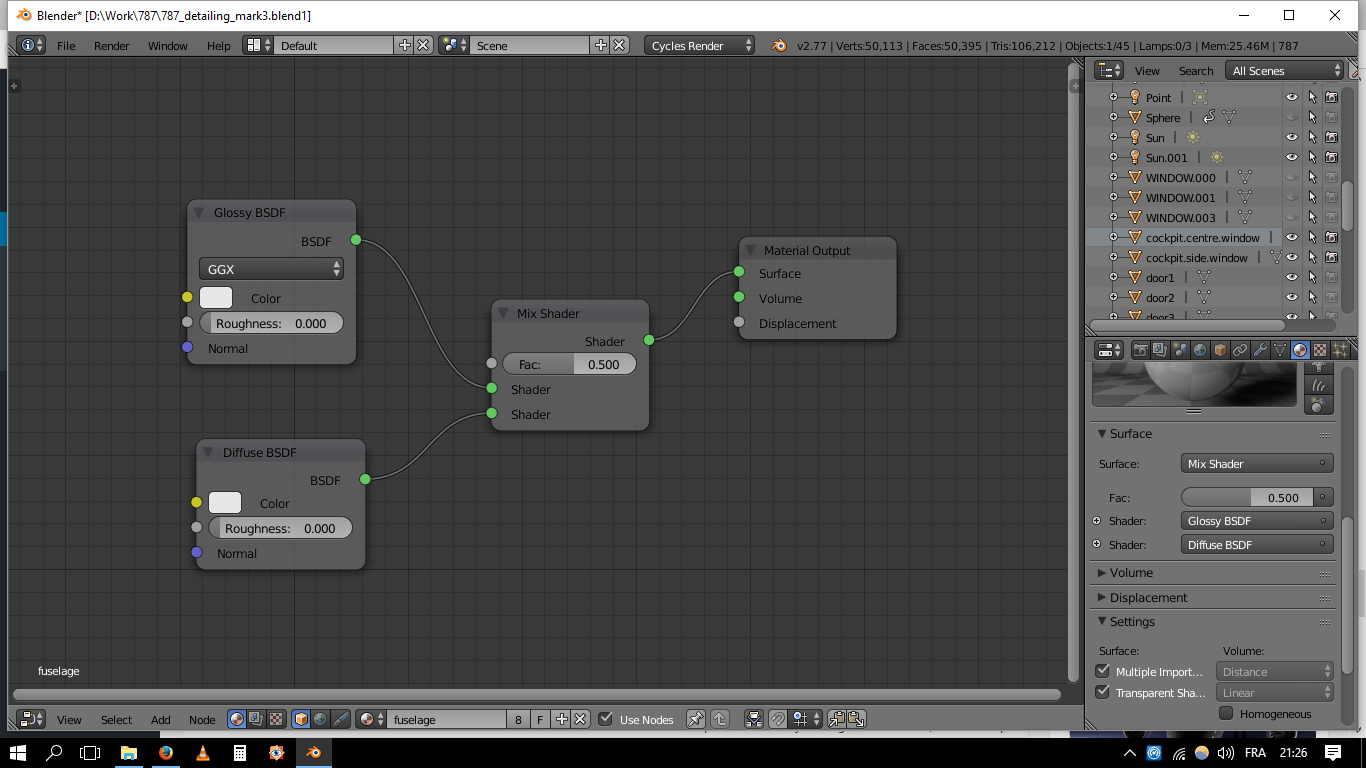
How materials are modeled
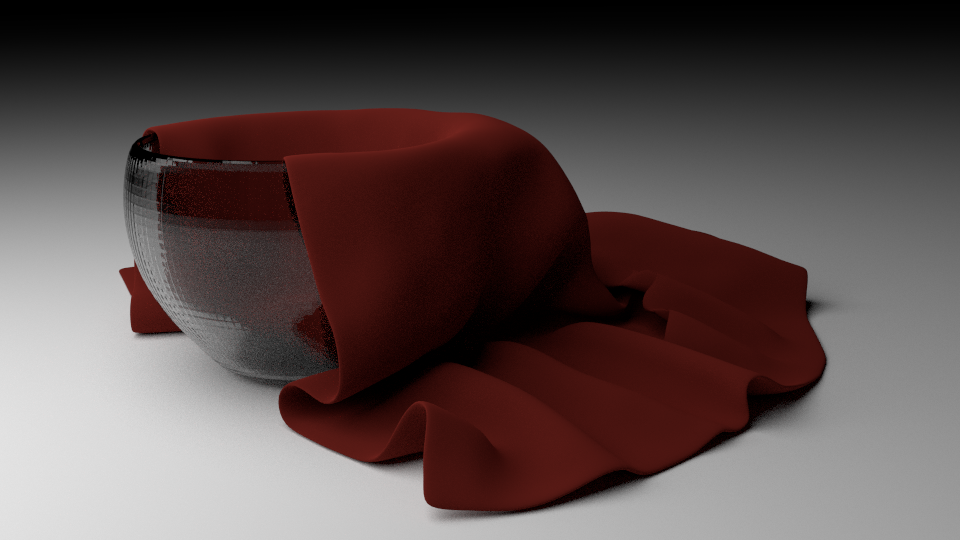
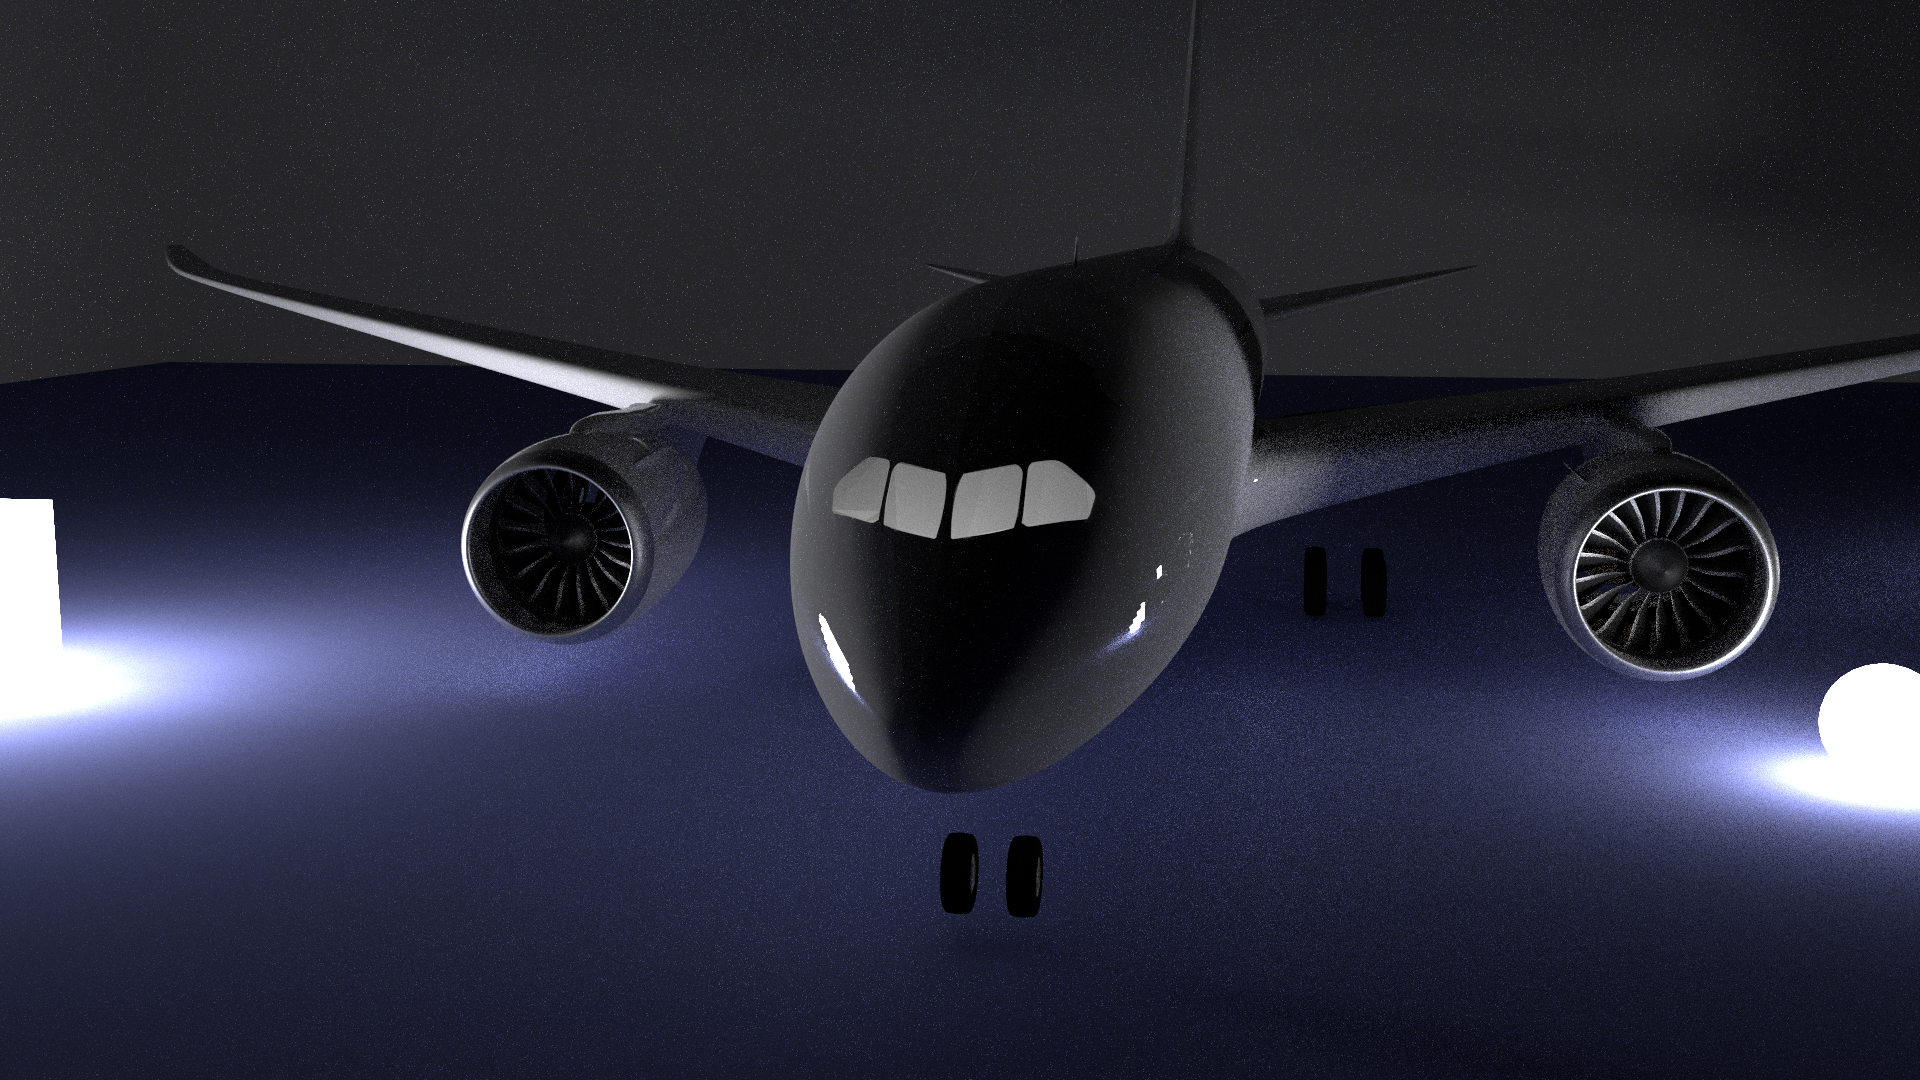
Let’s talk briefly about Blender’s rendering engine. The most advanced engine it offers is called Cycles, and it simulates light ray propagation on different materials. When selecting materials for different parts of the scene, you can change various settings such as gloss, diffuse, roughness, color, etc. Light hitting those virtual surfaces will behave according to the material, and either reflect, scatter, or be absorbed.
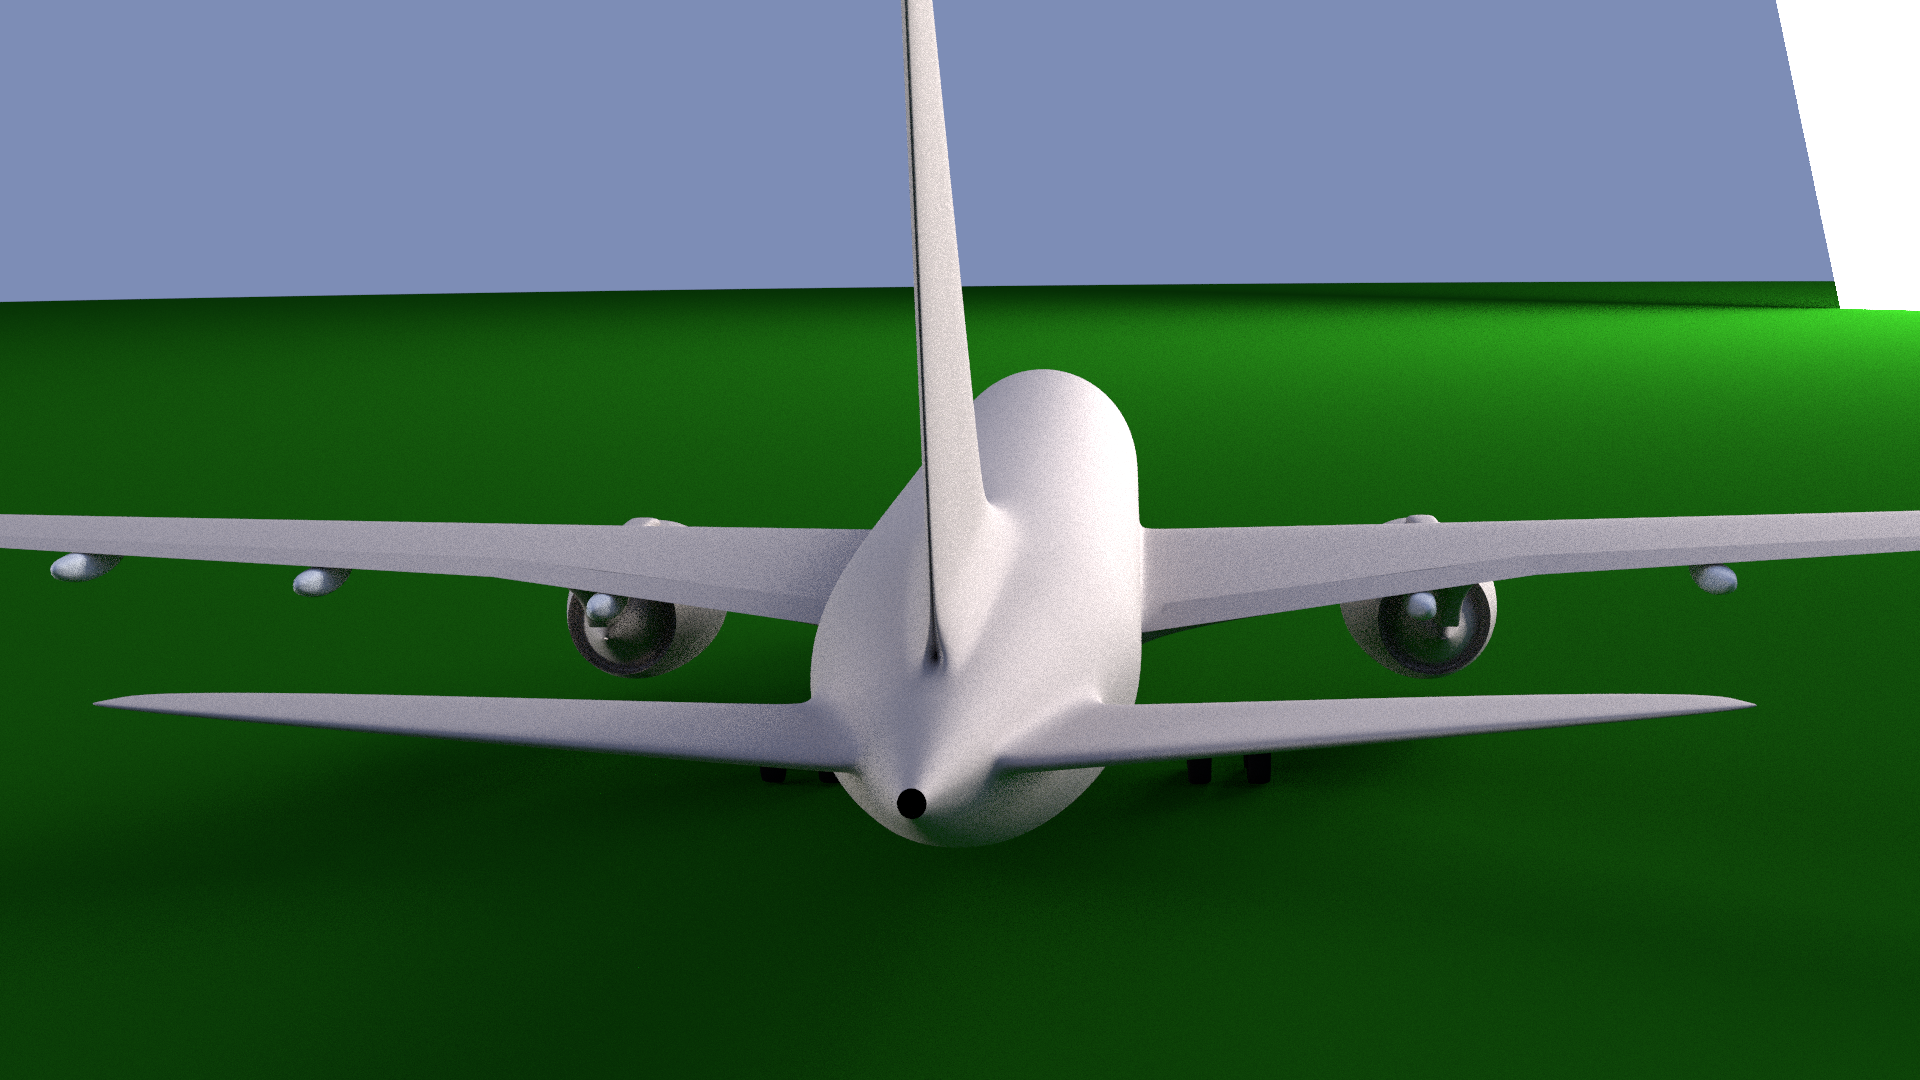
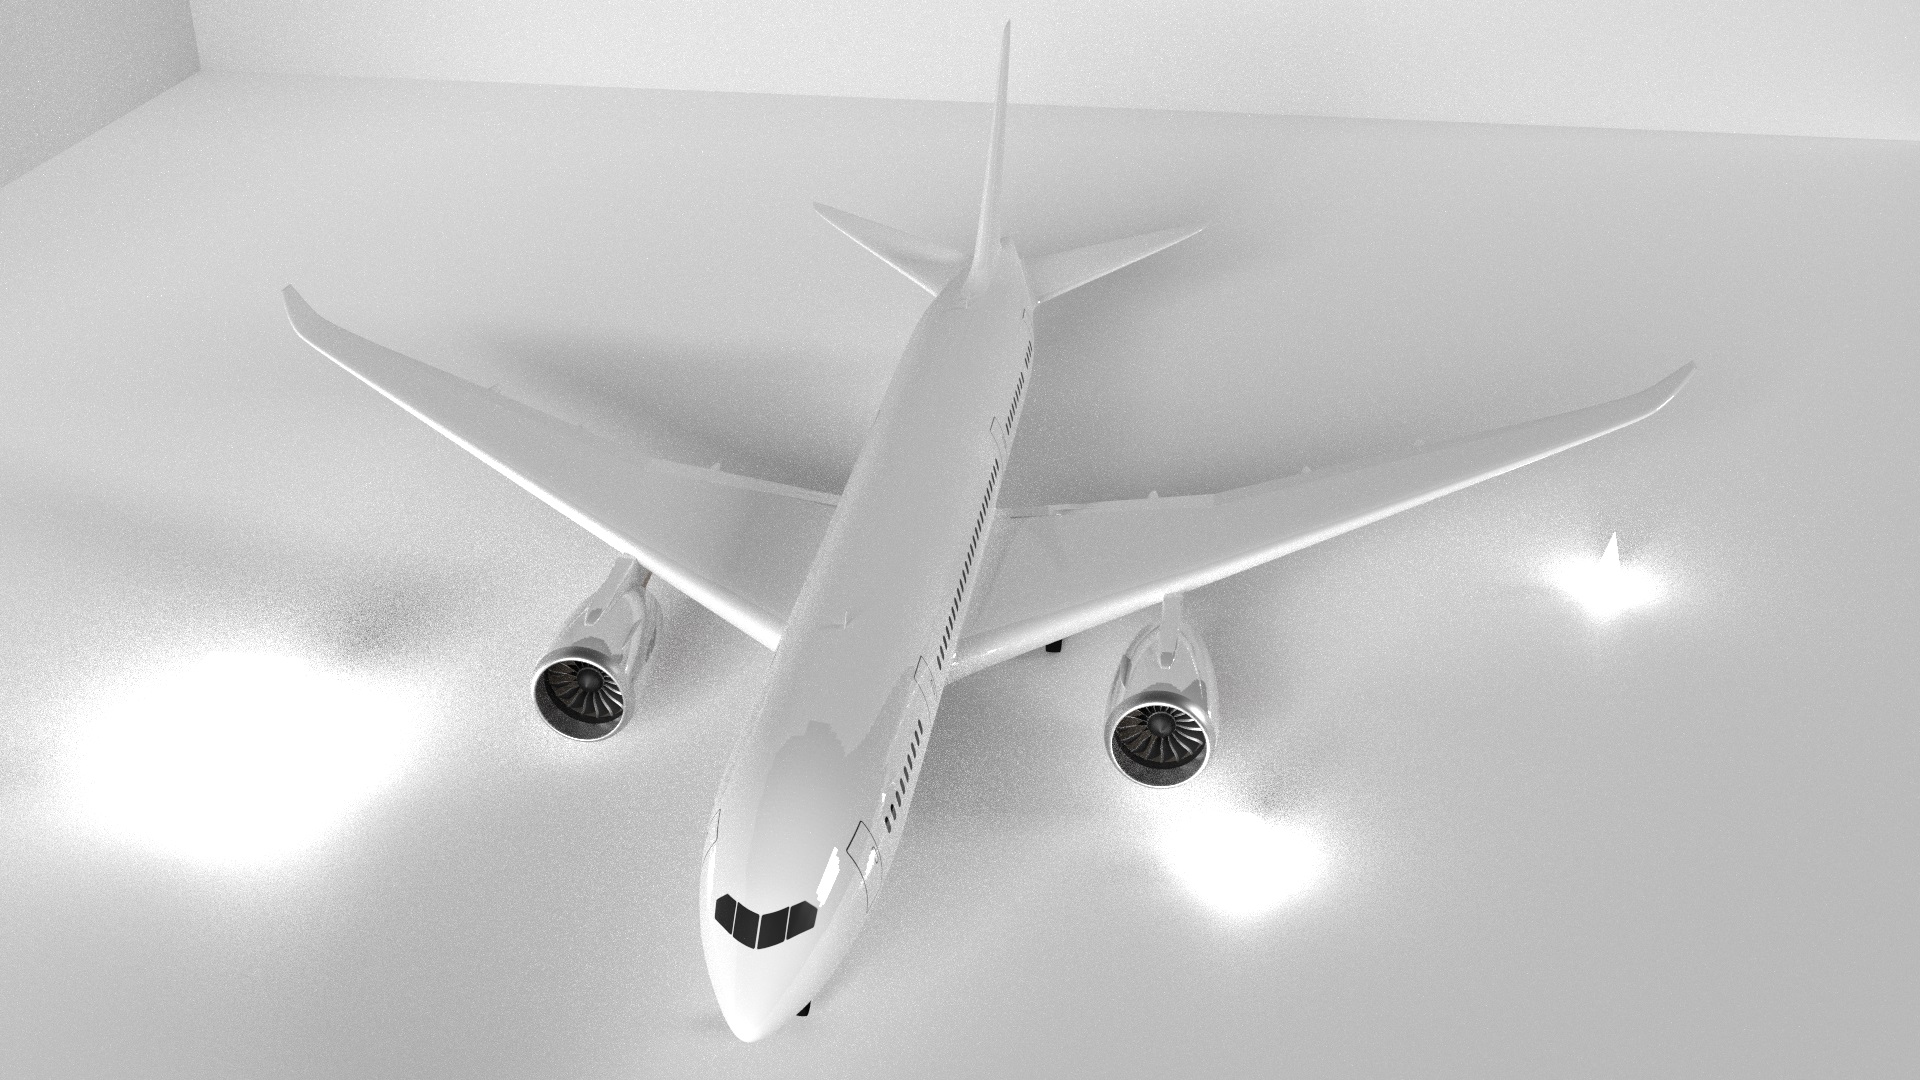
In the next render, I wanted to achieve a fresh and clean white paint look. You can see how this method of rendering can produce highly realistic surfaces, notice the reflections on the fuselage, the soft shadow of the dummy person, the reflections inside the engine from the fan blades. And bear in mind, I used extremely basic materials here, more advanced folks can achieve incredible levels of realism via the node editor.
I spent a fair amount of time to find a high resolution texture for the R2 jet, and after modifying it to fit my 787-8 body, gave it a few renders before ending up with the final result.

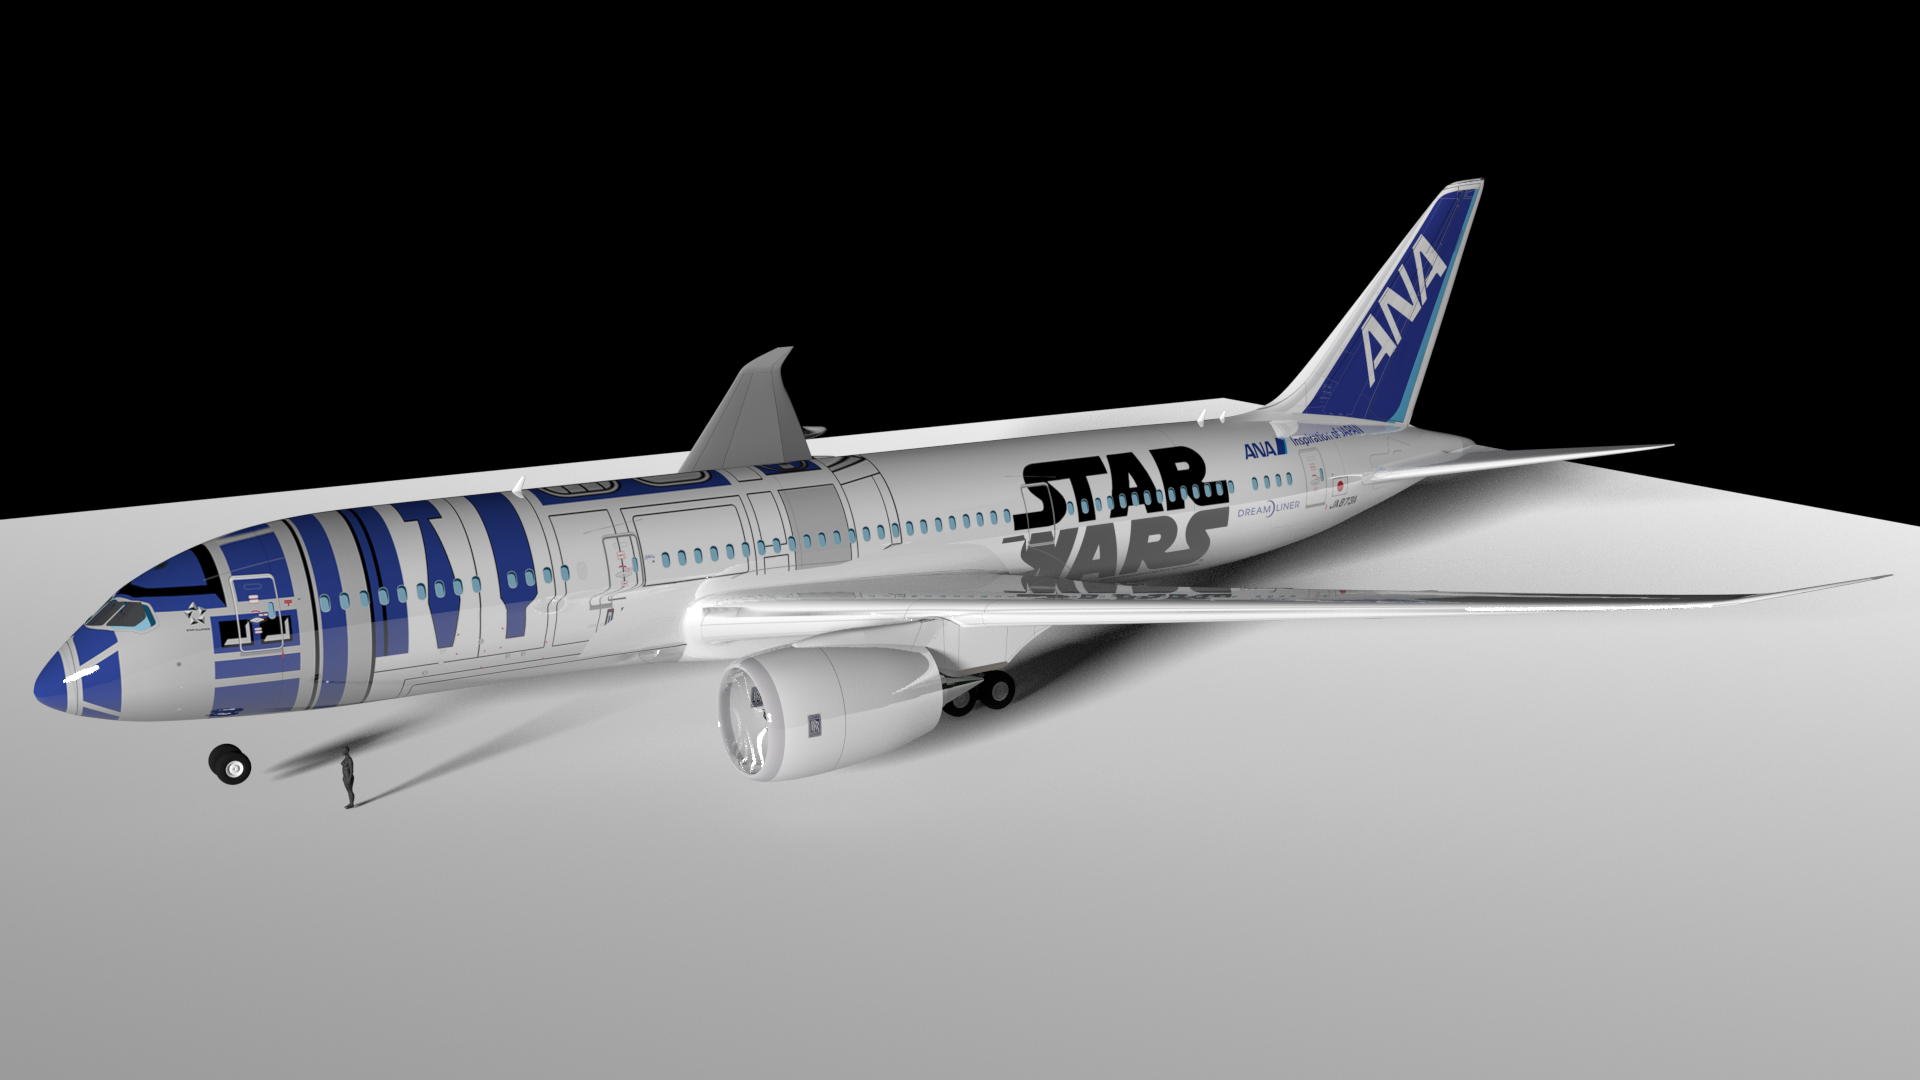
This is where i ended the project. It is very from complete, but I learned a TON. It also jump started me to work later on another exciting project!
Till next time…

I want to dedicate this article to the amazing folks at Blender.org for creating this incredibly powerful tool enabling anyone to dive into the 3D modeling world.
Philippe