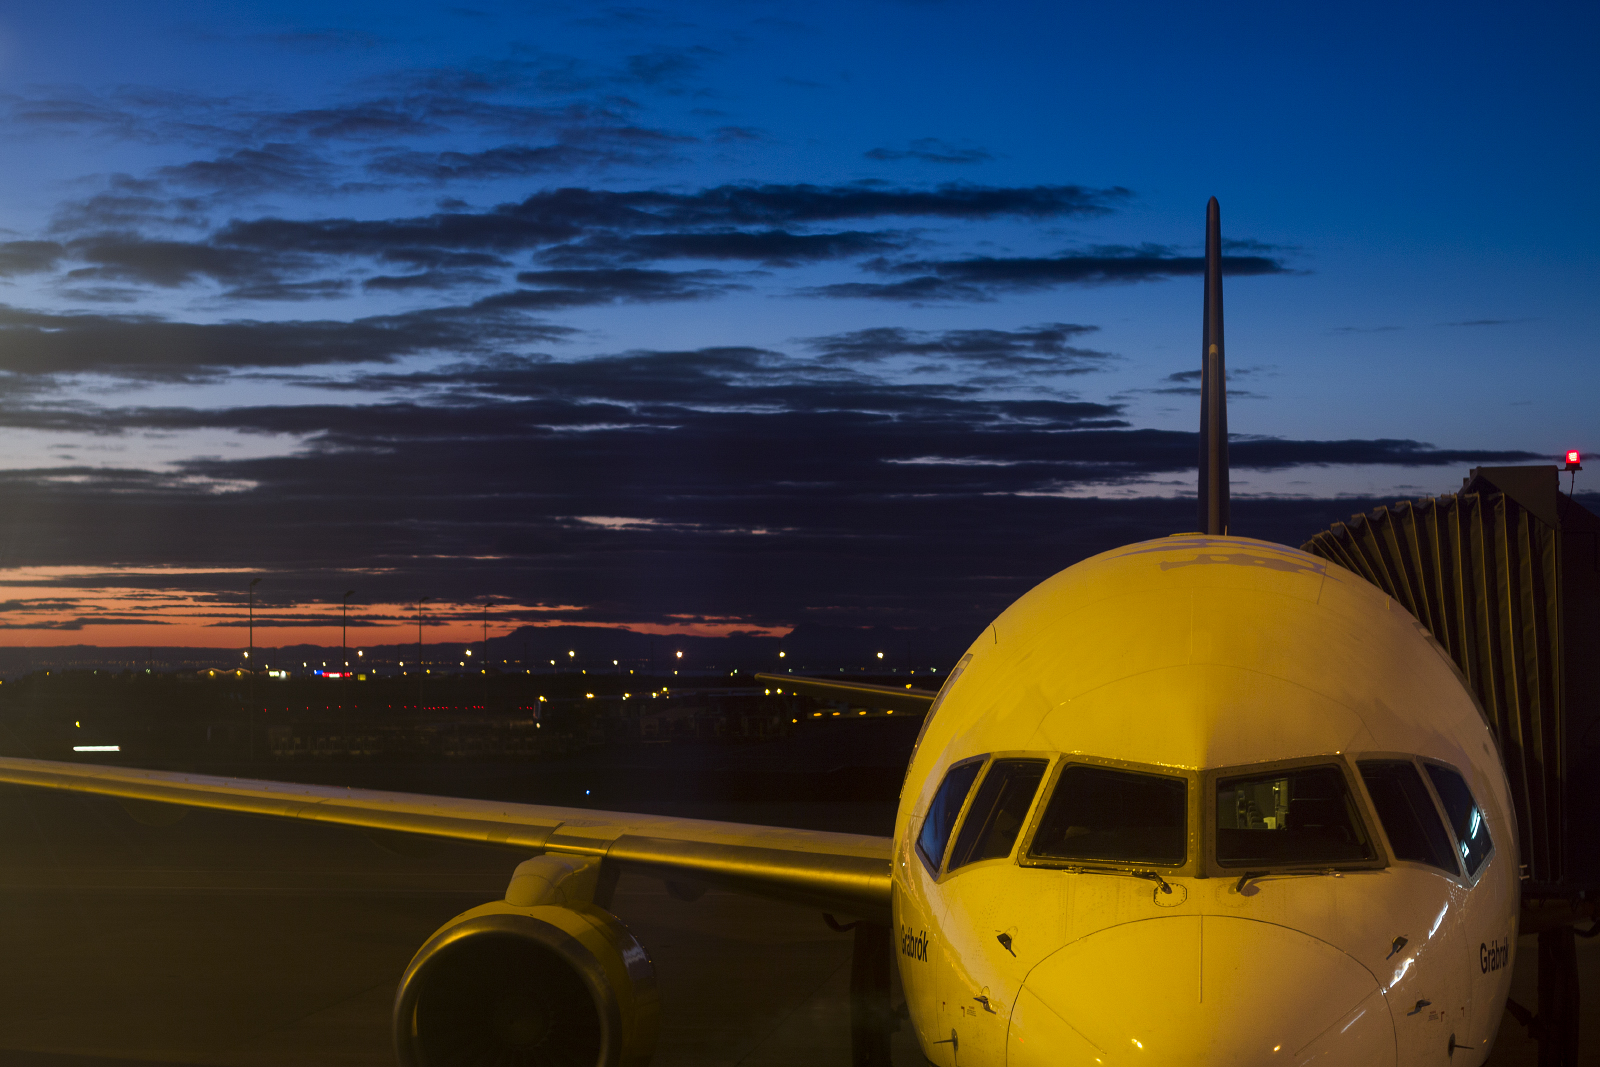
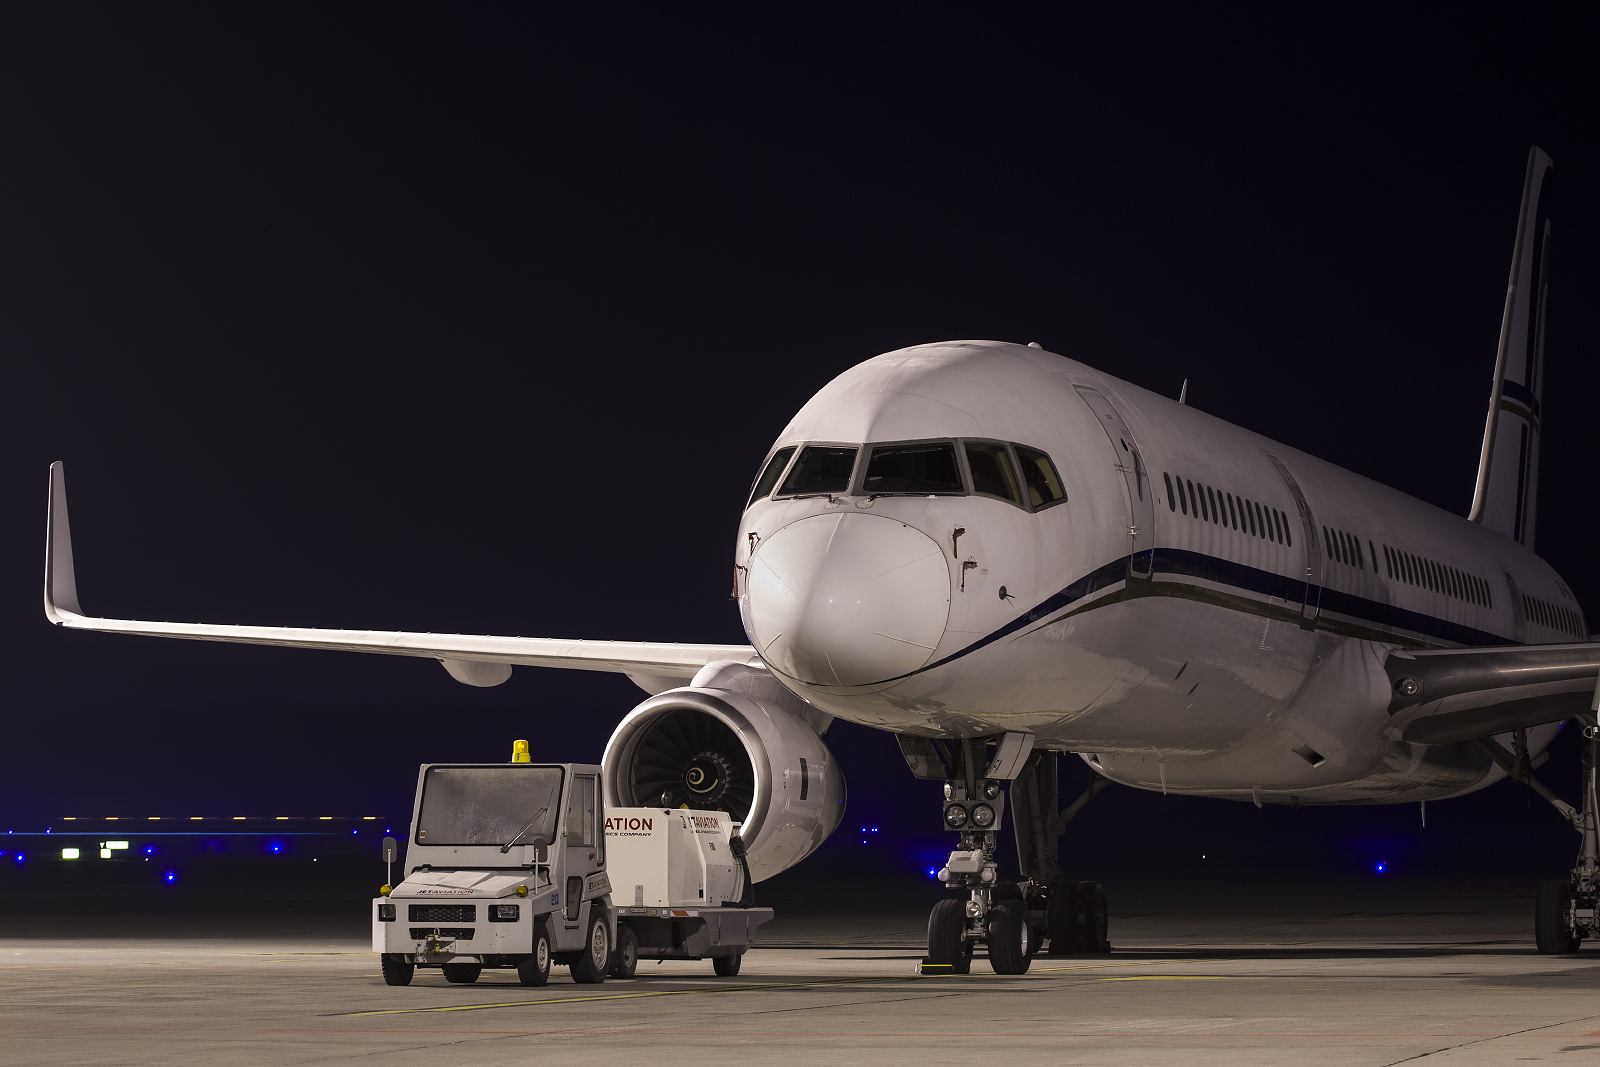
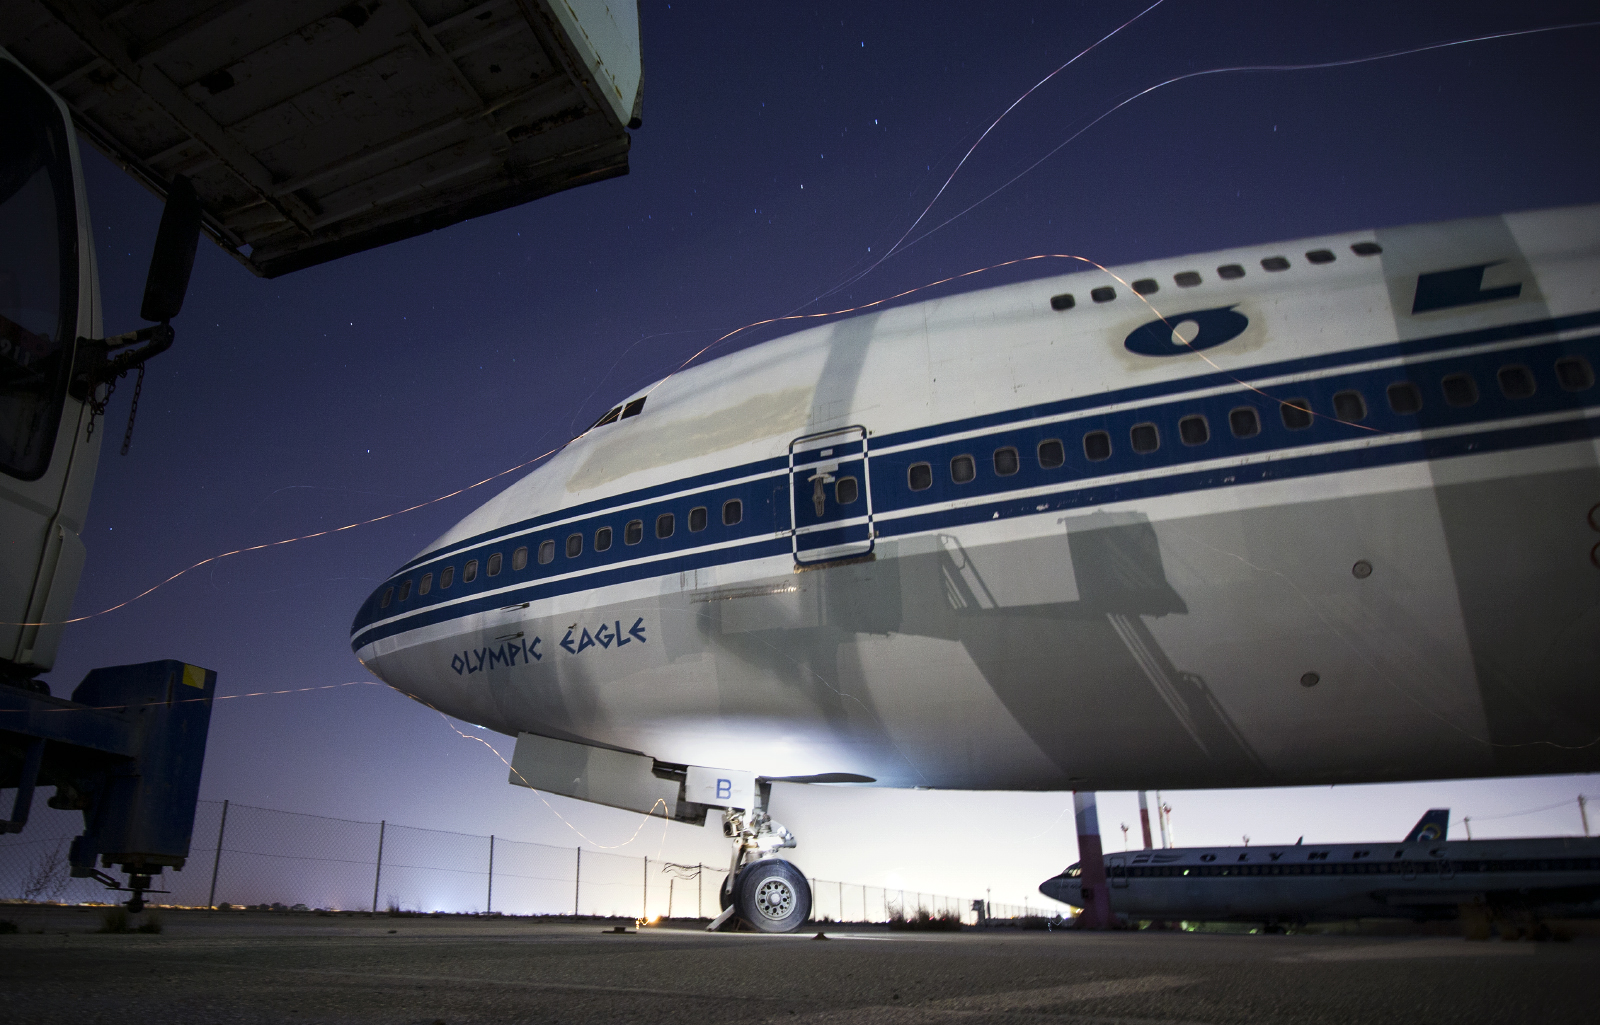
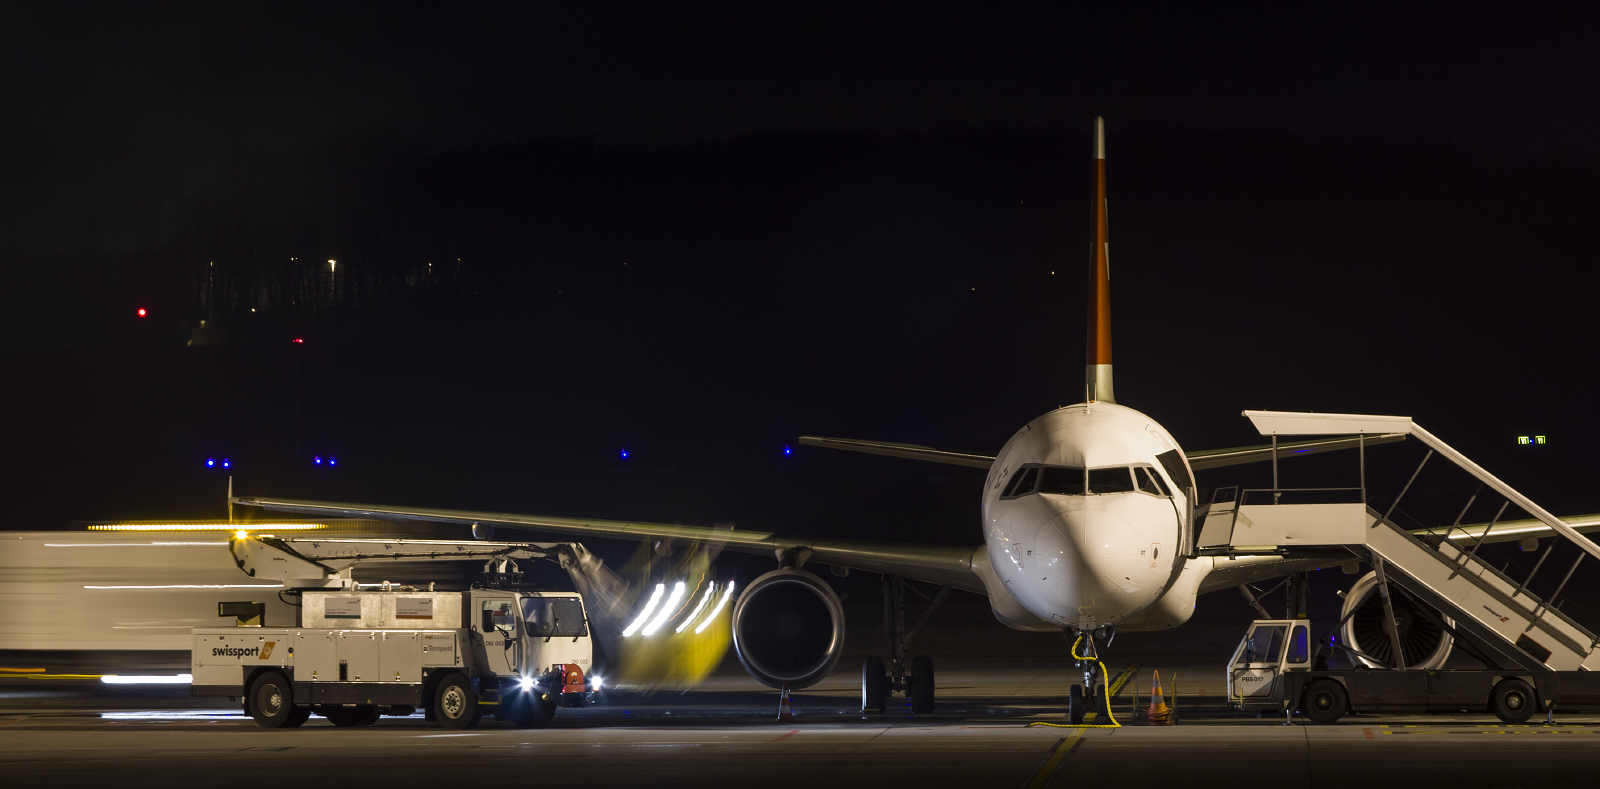
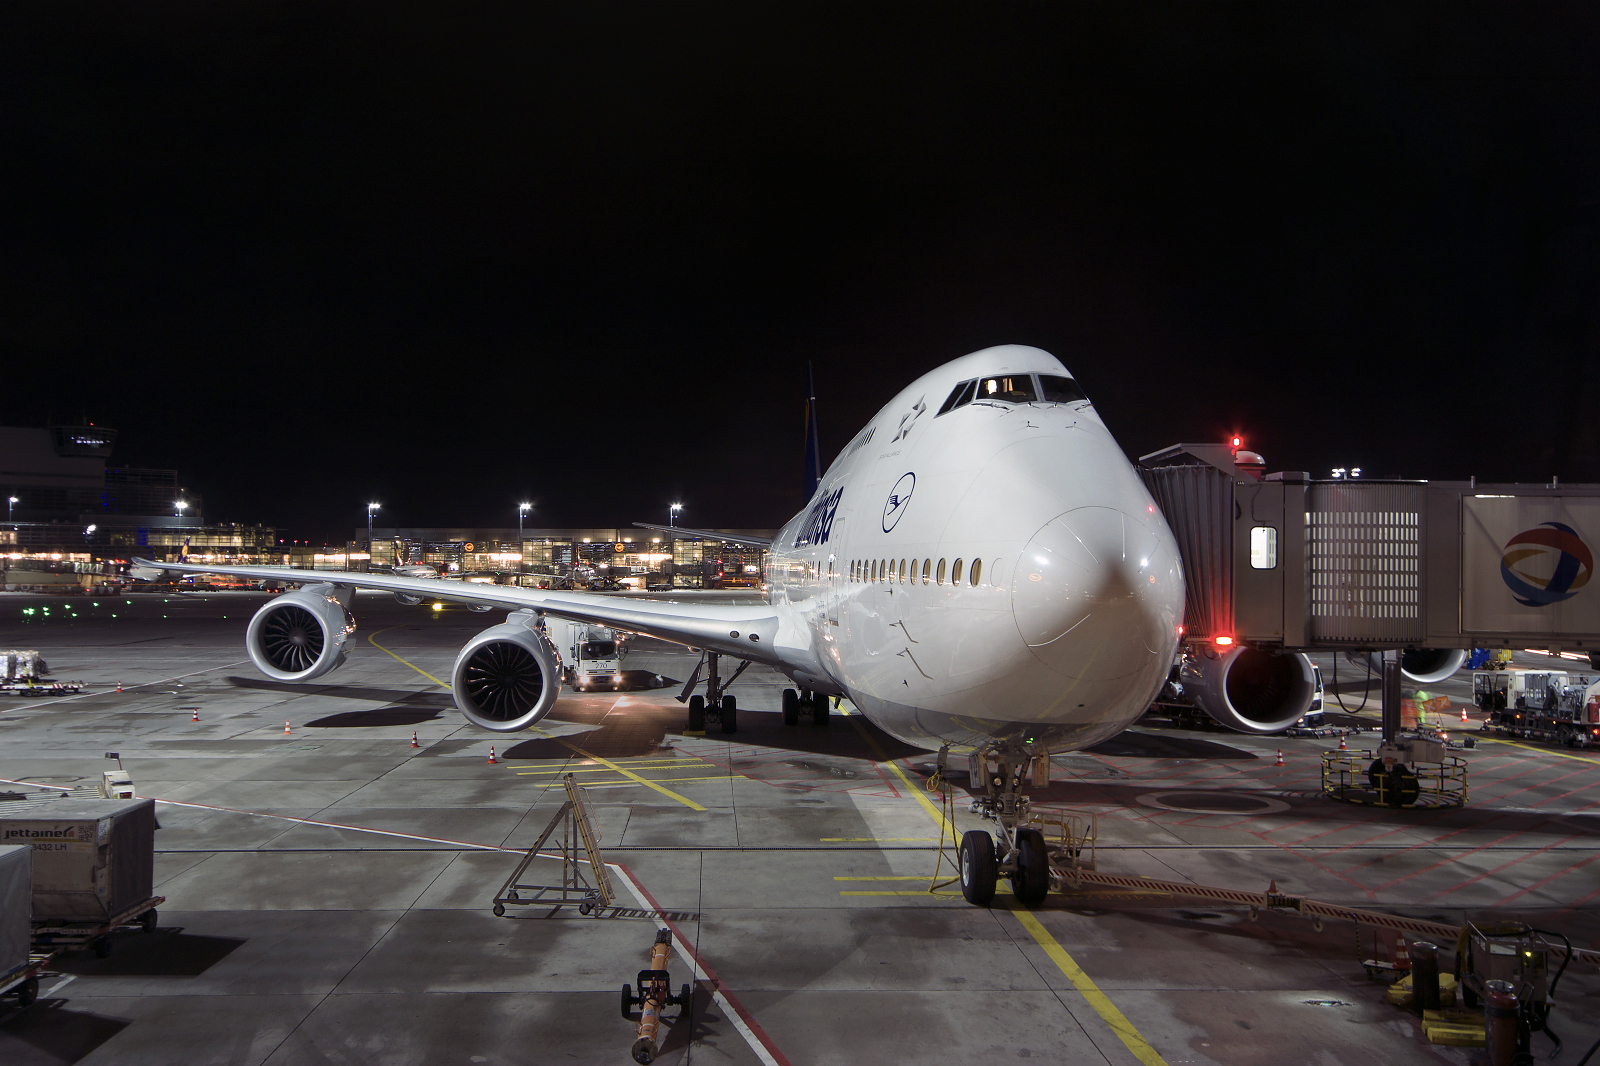
Night shooting is an exciting sub-genre of aviation photography that has it’s own kind of esthetic and challenges. I don’t often photograph aircraft at night, but I enjoy it very much. Here’s an article looking in depth at technique and gear.
Night photography is different from day photography mainly because of the lack of sufficient light to take photos handheld and quickly focus reliably. This requires additional equipment, different settings and a somewhat specific location. In this aviation night photo guide, we’ll go through all these factors in detail, and see a few hacks to make the images pop!
The challenges of night photography
Less light = longer exposure time
At night, exposure times are longer, because less light is reaching the sensor. Just like our eyes, a camera will have to “stare longer” to see what’s in a scene. The problem is that a camera records everything that happens during the exposure time. Therefore, if the camera moves, the scene “moves” as well, resulting in image blur.
A camera will pick up even the tiniest shaking at exposure times below 1/30th of a second, especially at longer focal lengths. With a good quality lens equipped with a stabilizer, one might be able to take a handheld picture as low as 1/5th of a second, or even 1/2 second with a good dose of luck. Anything below that will be almost impossible to hold. Since in night photography, the exposure times are often higher than a few seconds, the biggest challenge is to properly stabilize the camera.
What camera for night aviation photography
To produce good night pictures, any modern DSLR from the past decade (Canon , mirrorless camera and even some compacts will do the job. The only requirement is that the camera provides some control over exposure settings, namely aperture and exposure time, ISO and also triggering options.
On the other hand, there are a few factors that will make a camera more adapted to night photography. A larger and more modern sensor will produce better quality in low light and allow the use of higher ISO if needed. The live view function is very useful for focusing and setting the right exposure. Finally, the ability to wirelessly control the camera with a smartphone can make a big difference as well.
An important feature is also RAW image output capability. Night photography often involves multiple, often harsh light sources of different colors, and over or underexposures are quick to happen. Since night photography will be pushing the camera to the limits, it’s good to have as much data as possible for further editing.
Mission 1 : Stabilizing the camera
Tripods and DIY
The most important piece of equipment is an object to hold the camera still. I say object because in my experience, I seldom carry a tripod with me. I have used anything from my bag, the ground, big window frames at airports, or even gravity to stabilize my camera (sounds weird, but hang your camera from the top of a fence and make the lens rest on a wire in front of an opening and you got a stabilization – doesn’t work in wind though).
The best piece of equipment is still a solid tripod. It doesn’t really matter what brand, but it should be made of metal and feel sturdy and well buit.
I personally use a manfrotto tripod someone gave me and a no-name ball head bought online for 28 euros. It does a great job, but again, I rarely carry it around with me, since it is heavy and I almost always fly only with my carry on bag, and the tripod is just too large. I will take it and use it though when I go specifically for a night shoot and no flying is involved.

It can sometimes be difficult to shoot through a fence, even with a tripod. The camera is either too far from the fence or at some places, the ground goes straight down which makes it hard to place the tripod and get it at the right hight. A way to overcome this is to put one of the tripod legs through the fence, which makes it possible to place the lens straight in front of an opening.
Tripod heads: Ball head VS pan-and-tilt
For photography, ball heads are the most practical. They allow to make tiny orientation adjustments very quickly as opposed to fiddling with the various components of a pan-and-tilt head. Pistol ball heads (aka photo-sprinkler) use the same principle, but with a handle instead of knobs to tighten the position.
Ball heads can be purchased for anything between 15-50$ and usually have the same universal screws (platform with 1/4″ thread and bottom 3/8″ screw hole). There is no need to buy an expensive one, I bought mine off Amazon for 28 euros (about 32 dollars) and it does its job very well.
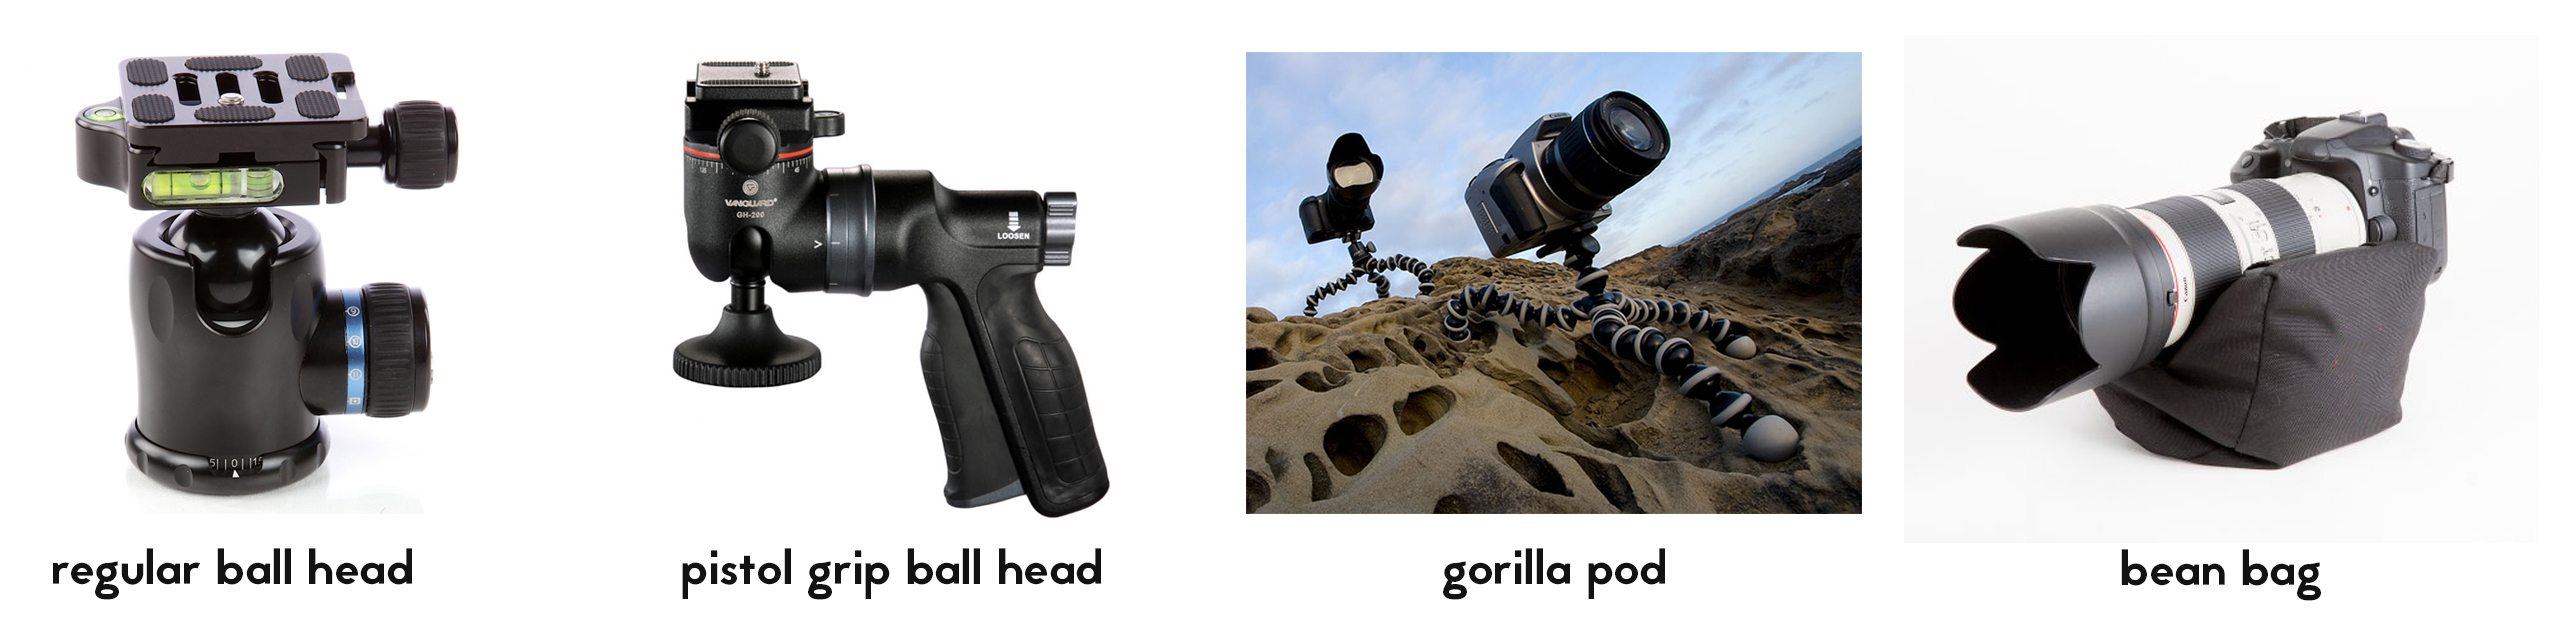
As alternatives to tripods, good gorilla pods or any other compact, lightweight but sturdy tripods, can be more practical to carry around.
Bean bags are also a good alternative for lightweight and compact stabilization. It’s basically the equivalent of whatever folded sweater or bag you’ll use when nothing else is available, but better.
Image stabilization – on or off?
If the camera is firmly mounted on a tripod, there is no need to leave it on. Actually, it might even be detrimental to obtaining a sharp image. When the camera is securely fixed on a tripod, the stabilization might actually cause the lens or sensor to move slightly and create additional blur.
Photographer and mirror-induced shake
One detrimental factor that is often forgotten is the shake produced by operating the camera (pressing the shutter), and the vibrations produced by the camera’s internal mechanisms, the mirror and shutter, even when the camera is on a tripod.
When we press the shutter, even if the camera is on a tripod, our hand will move the camera, which can result in a significant blur. Also, for cameras using a mirror and a physical shutter, the movement of these components will produce a slight shake which can impact the sharpness of the image. Let’s see how to prevent this:
Timer and remote control
For the operator-induced shake, there are three options.
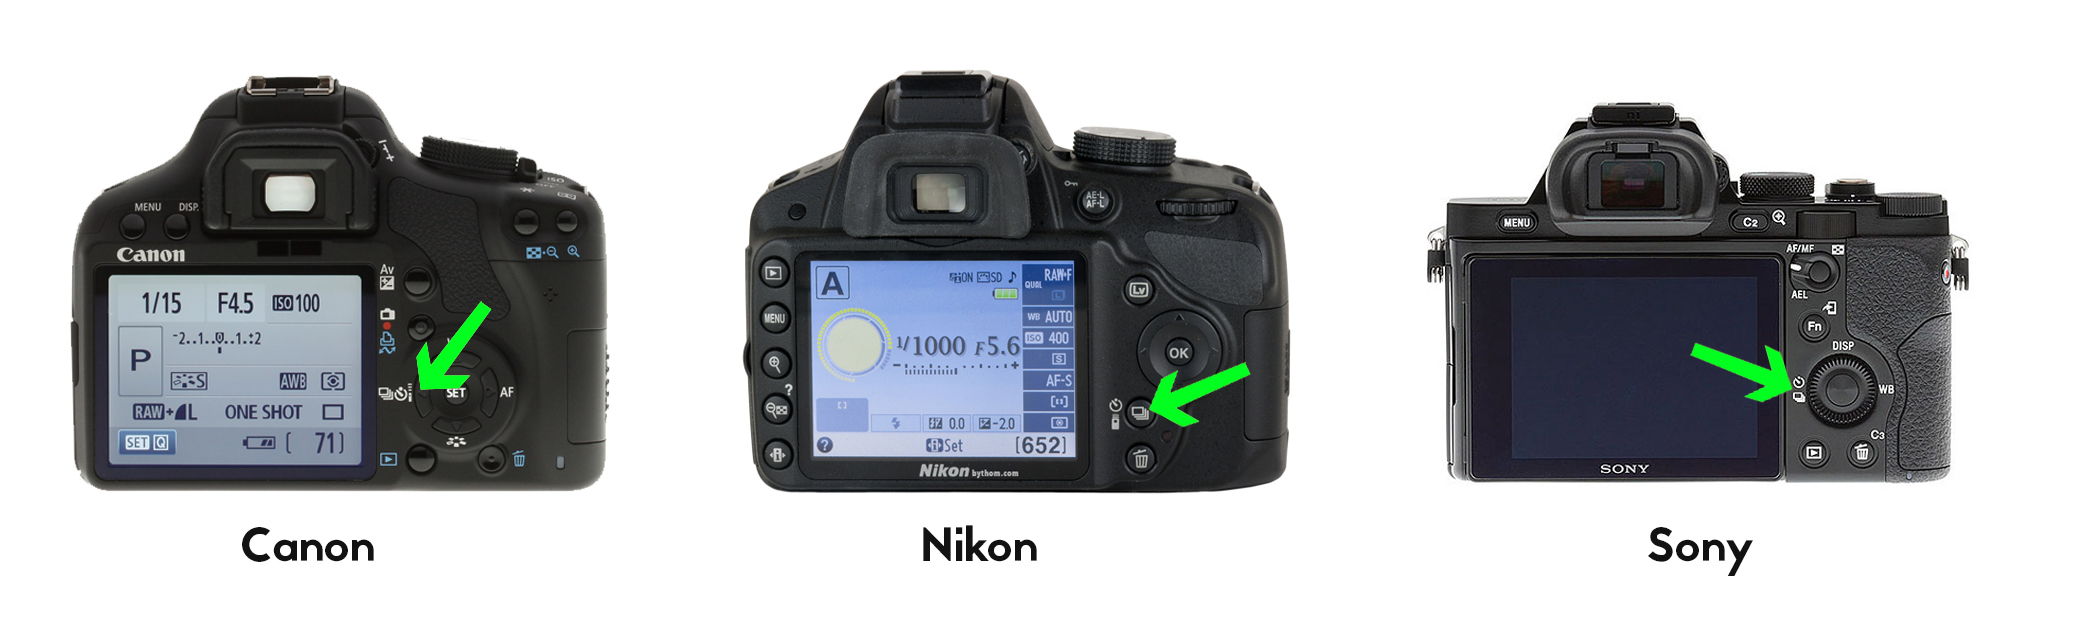
The first and simplest option is to use the built-in self-timer to trigger the camera with a certain delay. I usually use 2 seconds, but more time might be necessary if you’re shooting from a more unstable object like a bag, which takes a bit of time to “settle”.
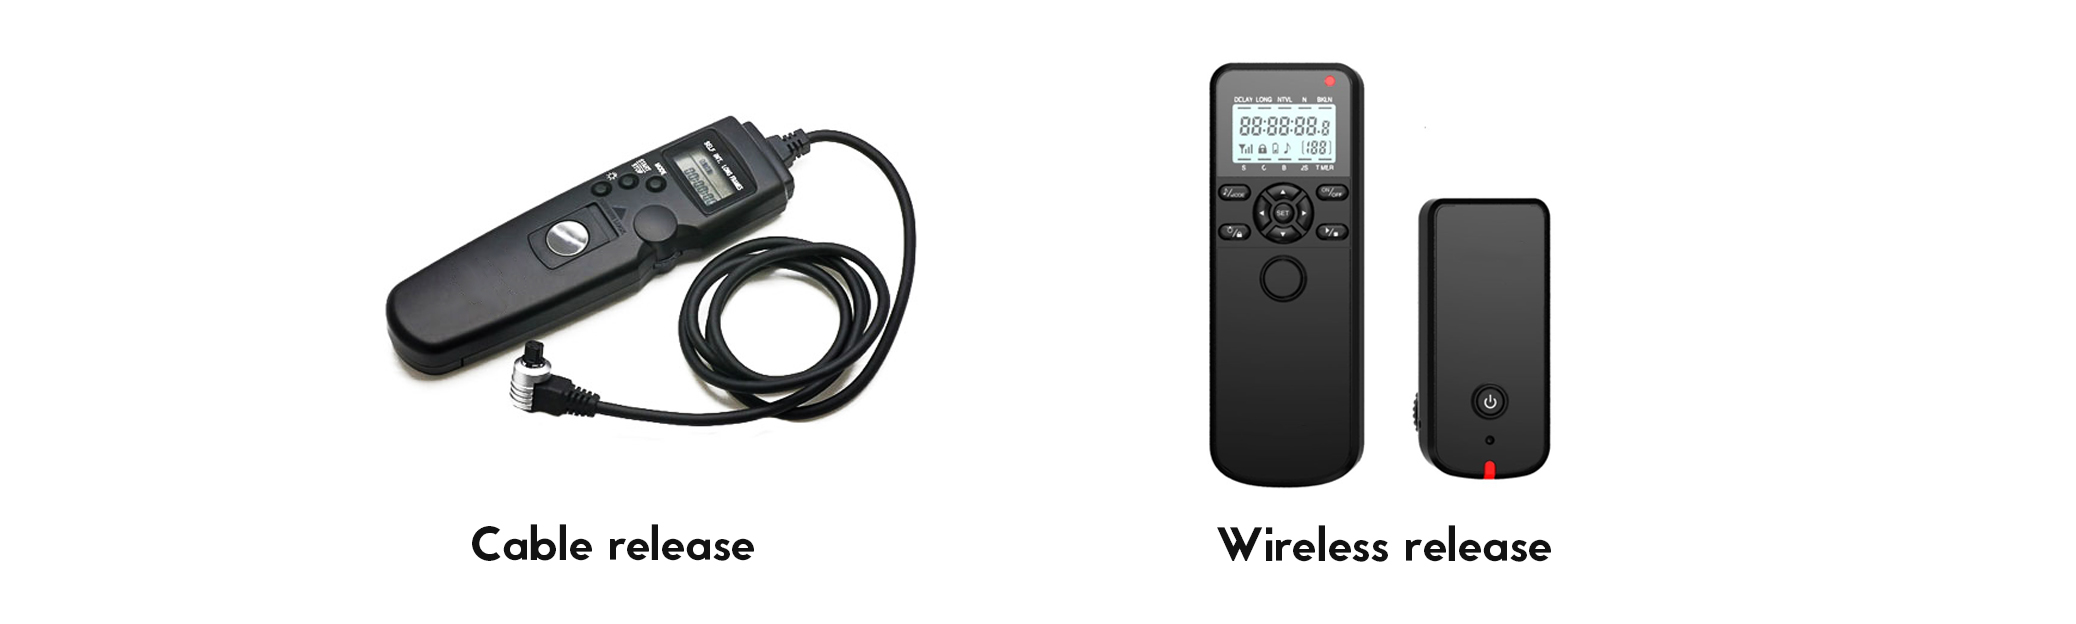
Second, you can use a cable or wireless remote shutter release to trigger the camera. These can be purchased for about 5-30$ and will isolate you from the camera, provided the chord doesn’t pull on the camera when you operate the trigger. Here are some shutter releases for Canon, Nikon and Sony cameras on Amazon.
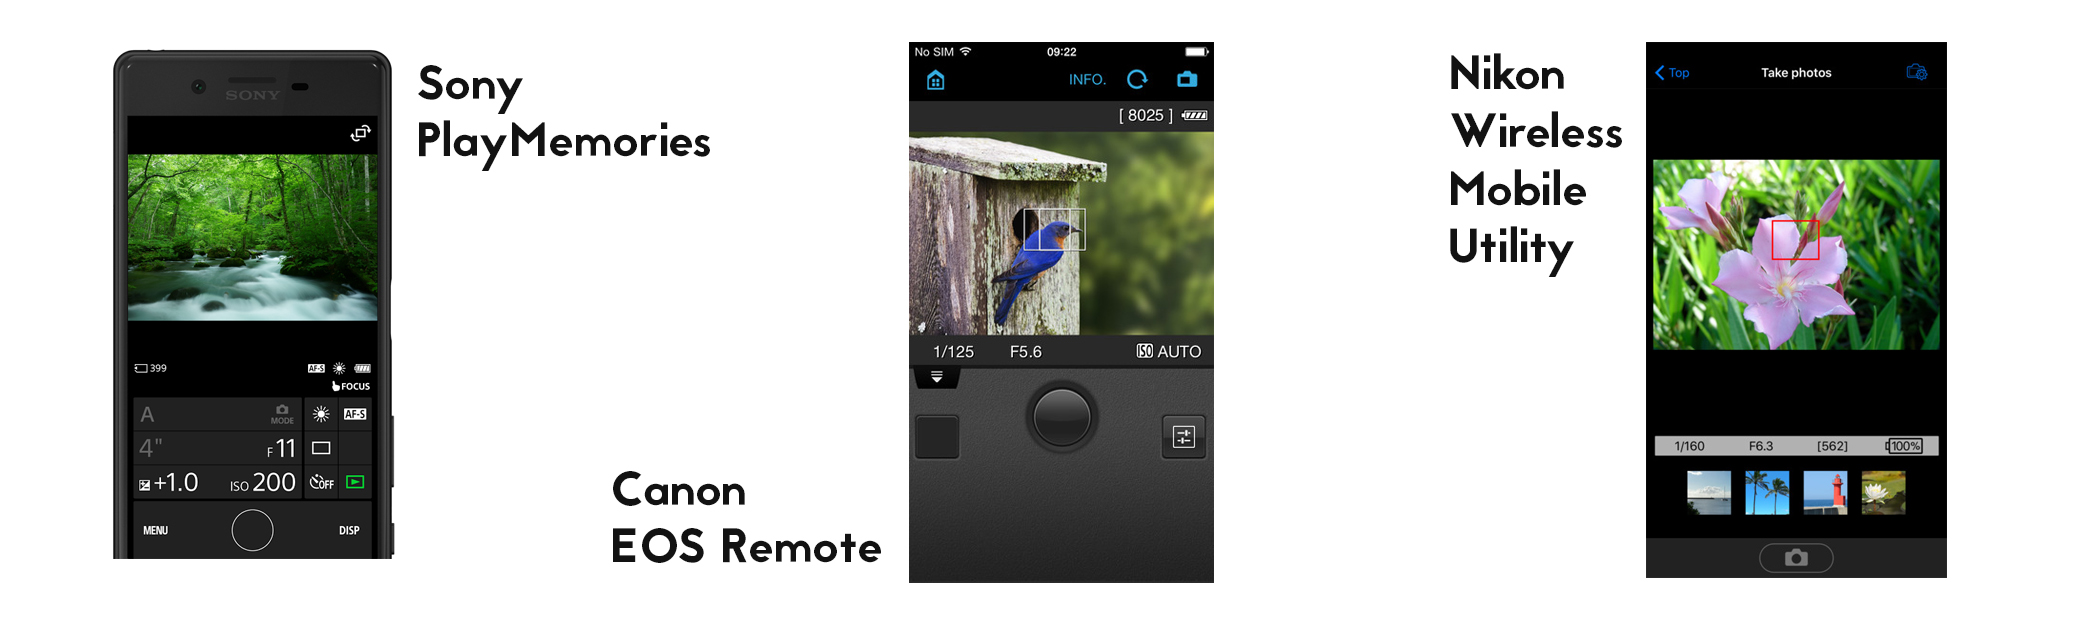
As a third option, a smartphone or computer with a dedicated app can be used to trigger the camera wirelessly. More recent DSLR and mirrorless cameras often have a wifi connection that enables you to control the camera from a decent distance using a smartphone, in my experience up to about 50m. That way, you don’t even need to be physically present next to the camera, and can include yourself in the picture.
For canon, there is EOS Remote app, for Nikon Wireless Mobile Utility, Sony has RemoteApp on PlayMemories, to name a few manufacturers.
Most importantly, a cable or wireless release or an app allow you to use the Bulb functionality of the camera. Bulb allows you to expose an image for as long as you press the shutter, and therefore extend the 30 seconds or so limit on most cameras. By physically pressing the shutter, it would be impossible to avoid any camera shake. That’s where the remote comes in, as any exposure time can be set without touching the camera, therefore allowing to take pictures even in almost complete darkness.
Mirror lock-up
To avoid the vibrations from the mirror movement (on DSLRs), there is a setting to move the mirror moves out of the way some time before the shutter is triggered.
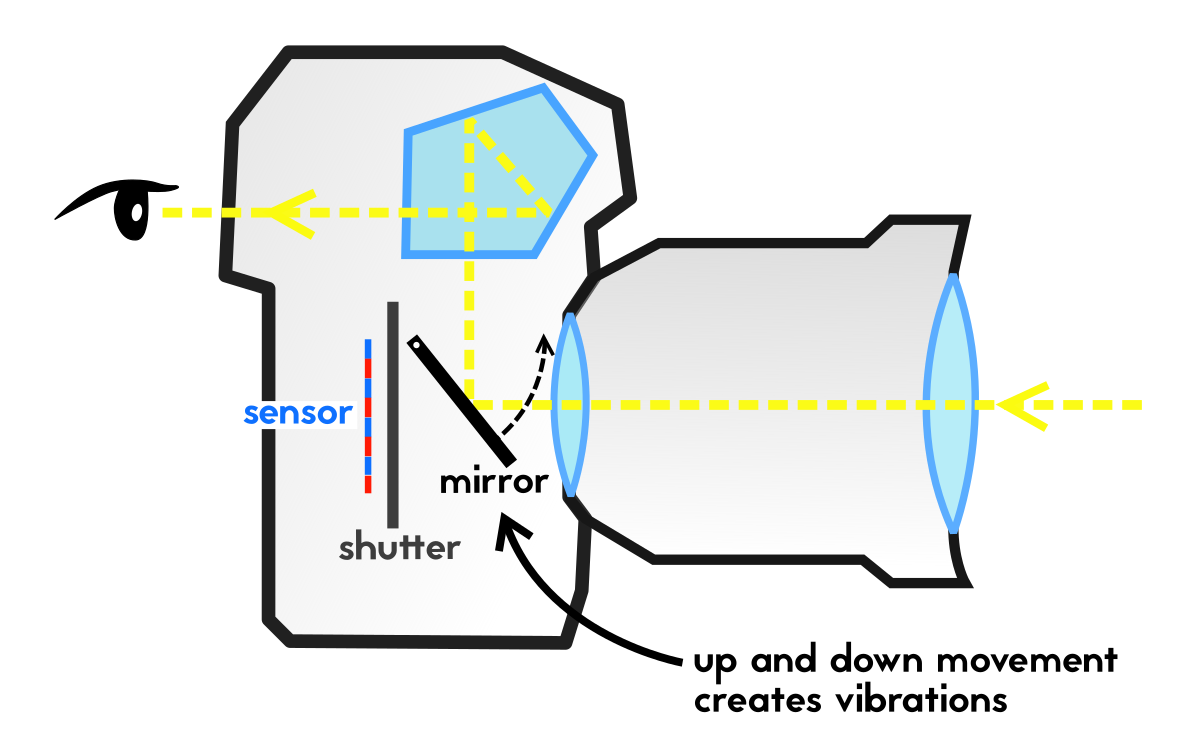
This can be achieved by going to the advanced (or custom) settings of your camera and enabling “Mirror lock up”. That way, if you’ve set the time for let’s say 2 seconds, the mirror will move up first, the two seconds will pass and then the shutter will open.
As for shutter induced vibration, the effects are mostly negligible, and there is not much you can do about it anyways. For more info on this phenomenon, check out this article.
Mission 2 : Focusing at night
One of the biggest challenges of night photography is focusing. Since there is not much light available, the autofocus will have a harder time finding points on which to focus.
The best option is to use the live view mode and selective autofocus. There are a few ways to go about it.
Selective spot live view autofocus
The first is to use the directional pad to place the active focus selector on well lit parts of the scene, where the autofocus will have the best chances of focusing. At that point, half-pressing the shutter with make the camera focus, after which the focus mode on the lens can be switched to manual to maintain the same focus distance and avoid having to focus every time.
Focus Peaking
Another option, when available, is to use the live view focusing aids, like focus peaking or zebra pattern, which will highlight the elements of the scene that are currently in focus. That way, focus can be adjusted manually via the lens’s focus ring. Although it can be useful sometimes, it is often difficult see what part of the scene is in focus when the subject is far away.
5-10x Magnification
Lastly, most cameras offer a zoom-in option in live view. Using the zoom button, it is possible to magnify a small portion of the image, usually 5 and 10x, and adjust the focus manually with the focus ring. This is my go-to option for poorly lit subjects.
Closing the aperture
Since aperture has an effect on depth of field, closing it down (ie increasing the aperture number) will help getting more of the aircraft “in focus”, as well as enhancing the overall sharpness of the image. Keep in mind that every lens has an optimal aperture range, which means that over certain numbers, image quality will start deteriorating (additional vignetting, chromatic aberation, aliasing etc..). You can see that range on specialized sites such as DPreview or DxOMark.
Sometimes, the aircraft or scene will be so dark that the autofocus will just not work. In these cases, it can be impossible to get a focus at all even trough the viewfinder. If the lens has a distance window, it might be possible to get an approximate focus, but it isn’t very precise. A way to overcome this is to have a good toch and shine on the part of the aircraft where the focus should be. Either the autofocus will pick it up, or you can use the magnification in live view to manually focus on the point.
Mission 3 : Exposure
We have now established the most crucial elements of night photography, stabilization and focusing. The third ingredient to a good night shot is exposure.
In preparation for editing
Aircraft at night can be difficult to expose properly. At airports, many different lights are used, poles, trucks, aircraft, and they don’t have the same intensity or color temperature. As a result, parts of the image can quickly become overexposed, especially with white aircraft liveries. Also, the color balance can be all over the place, with warm and cold color spots in various parts of the scene.
For this reason, it is useful to shoot in RAW format, which makes it a lot easier to correct the white balance, and recover over or underexposed parts of the image. Here’s an example. The image on the left looks unrecoverable right?
[sciba leftsrc=”https://thefullgull.com/wp-content/uploads/2017/04/IMG_2959a.jpg” leftlabel=”” rightsrc=”https://thefullgull.com/wp-content/uploads/2017/04/IMG_2959b.jpg” rightlabel=”” mode=”horizontal” width=””]
Well, on the right is the corrected raw image, with both white balance and exposure. A JPEG wouldn’t have allowed for such a drastic recovery, of 3 EV stops to be exact, since the overexposed parts would be gone – pure white. Now, this doesn’t mean the above image is good, there are still unrecoverable parts left on the right side of the fuselage, and the end result isn’t pretty. But it shows the possibilities offerend by the raw format. But it also highlights the importance of the next point.
Getting the exposure right
The task is quite simple when using live-view, in a scenario where the aircaft is lit (as opposed to in the complete darkness). Since you can see the approximate end result on the screen before taking the photo, it’s just about “getting the needle where you want”. Depending on mode you’re in (Aperture, Speed or Manual), you can either set the exposure compensation to 0 it that looks right, or slightly compensate in either direction to get the right exposure. Most exposure meters go from -4 or -3 exposure values (EV) to +3 or +4. Zero represents what the camera consideres as the right exposure for the given settings. The following visual shows what it looks like to add or subtract 2 EV stops to an image (“normal” represents the original photo).
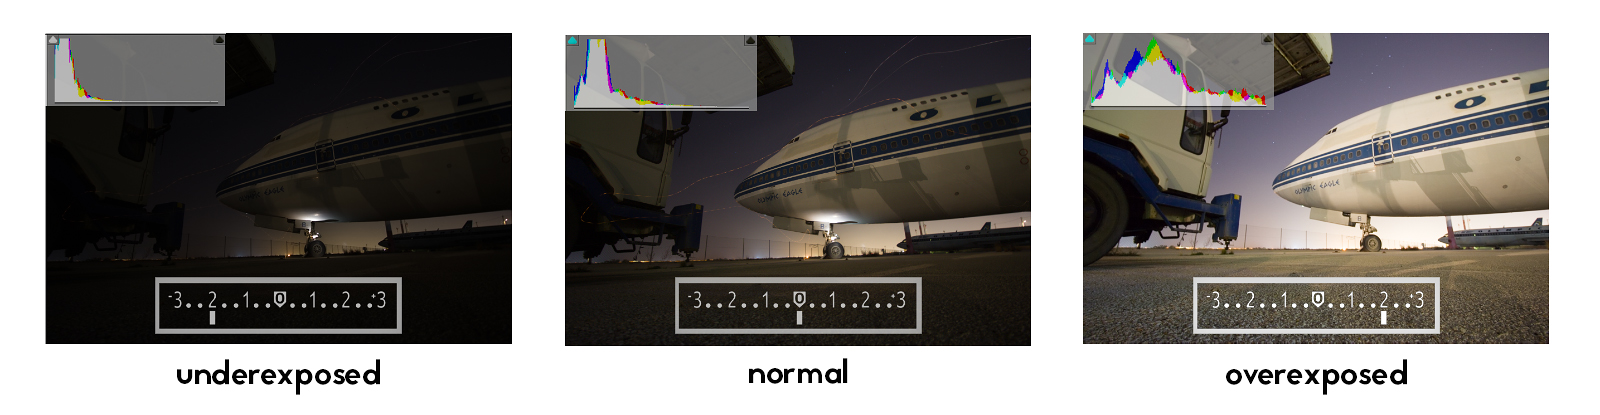
The histogram
As you can see in the image above in the left upper corners, another reliable way to determine if the exposure is rougly right is to look at the histogram in live view:

If everything is inside the box, and the peaks stop below the top of the box, its is an indicator that there will be no overexposed parts in the image.
I want to note something important though. In night photography, the exposure meter and the histogram will not always be a good indicator of a good exposure. The meter just tells us what we told it to measure, it doesn’t take into account any esthetic factors, nor does it know that we are taking night shots with a specific aesthetic.
In the example above, if I only looked at the histogram, I would pick the exposure on the right, since it has minimal clipping and all shades are represented. But since I want a night shot with atmosphere, I went a different way – darker, or in other words, more realistic.
When there is good access to the aircraft, it is possible to make your own lighting. With a simple smartphone light or torch, you can brighten selected aircraft parts or do some light painting without appearing on the image. If the exposure is long enough and the source of light not directly visible to the camera, the person holding the light will not appear on the image!
Summary
- Use tripod or any other mean to prevent any movement of the camera, turn IS off
- Timer, trigger or remote app to trigger the photo to prevent camera shake
- Set the mirror lock up to “on” to prevent mirror slap
- Focus via live-view, using the selective point, focus peaking or magnification
- RAW format to expand editing possibilites
- Live view to set the correct exposition, fine tune with exposure compensation
There you have it. Next time, we will take an in-depthlook at panning, one of the most appealing and difficult aviation photography techniques.
Til next time!
Affiliate disclaimer: Thefullgull is a participant in the Amazon Services LLC Associates Program, an affiliate advertising program designed to provide a means for sites to earn advertising fees by advertising and linking to amazon.com.