It’s now been more than 11 years that I’ve been wandering around airports abusing my cameras, getting sunburns and wishing I had a spare battery. No more of that last part now (ehhm)! Today, I’ll talk about how I started, what gear I’ve used, what I use now and what I wish I had! If you’re just interested in my current setup, feel free to scroll down, but you’ll miss out on the old school bits!
A bike ride to the airport
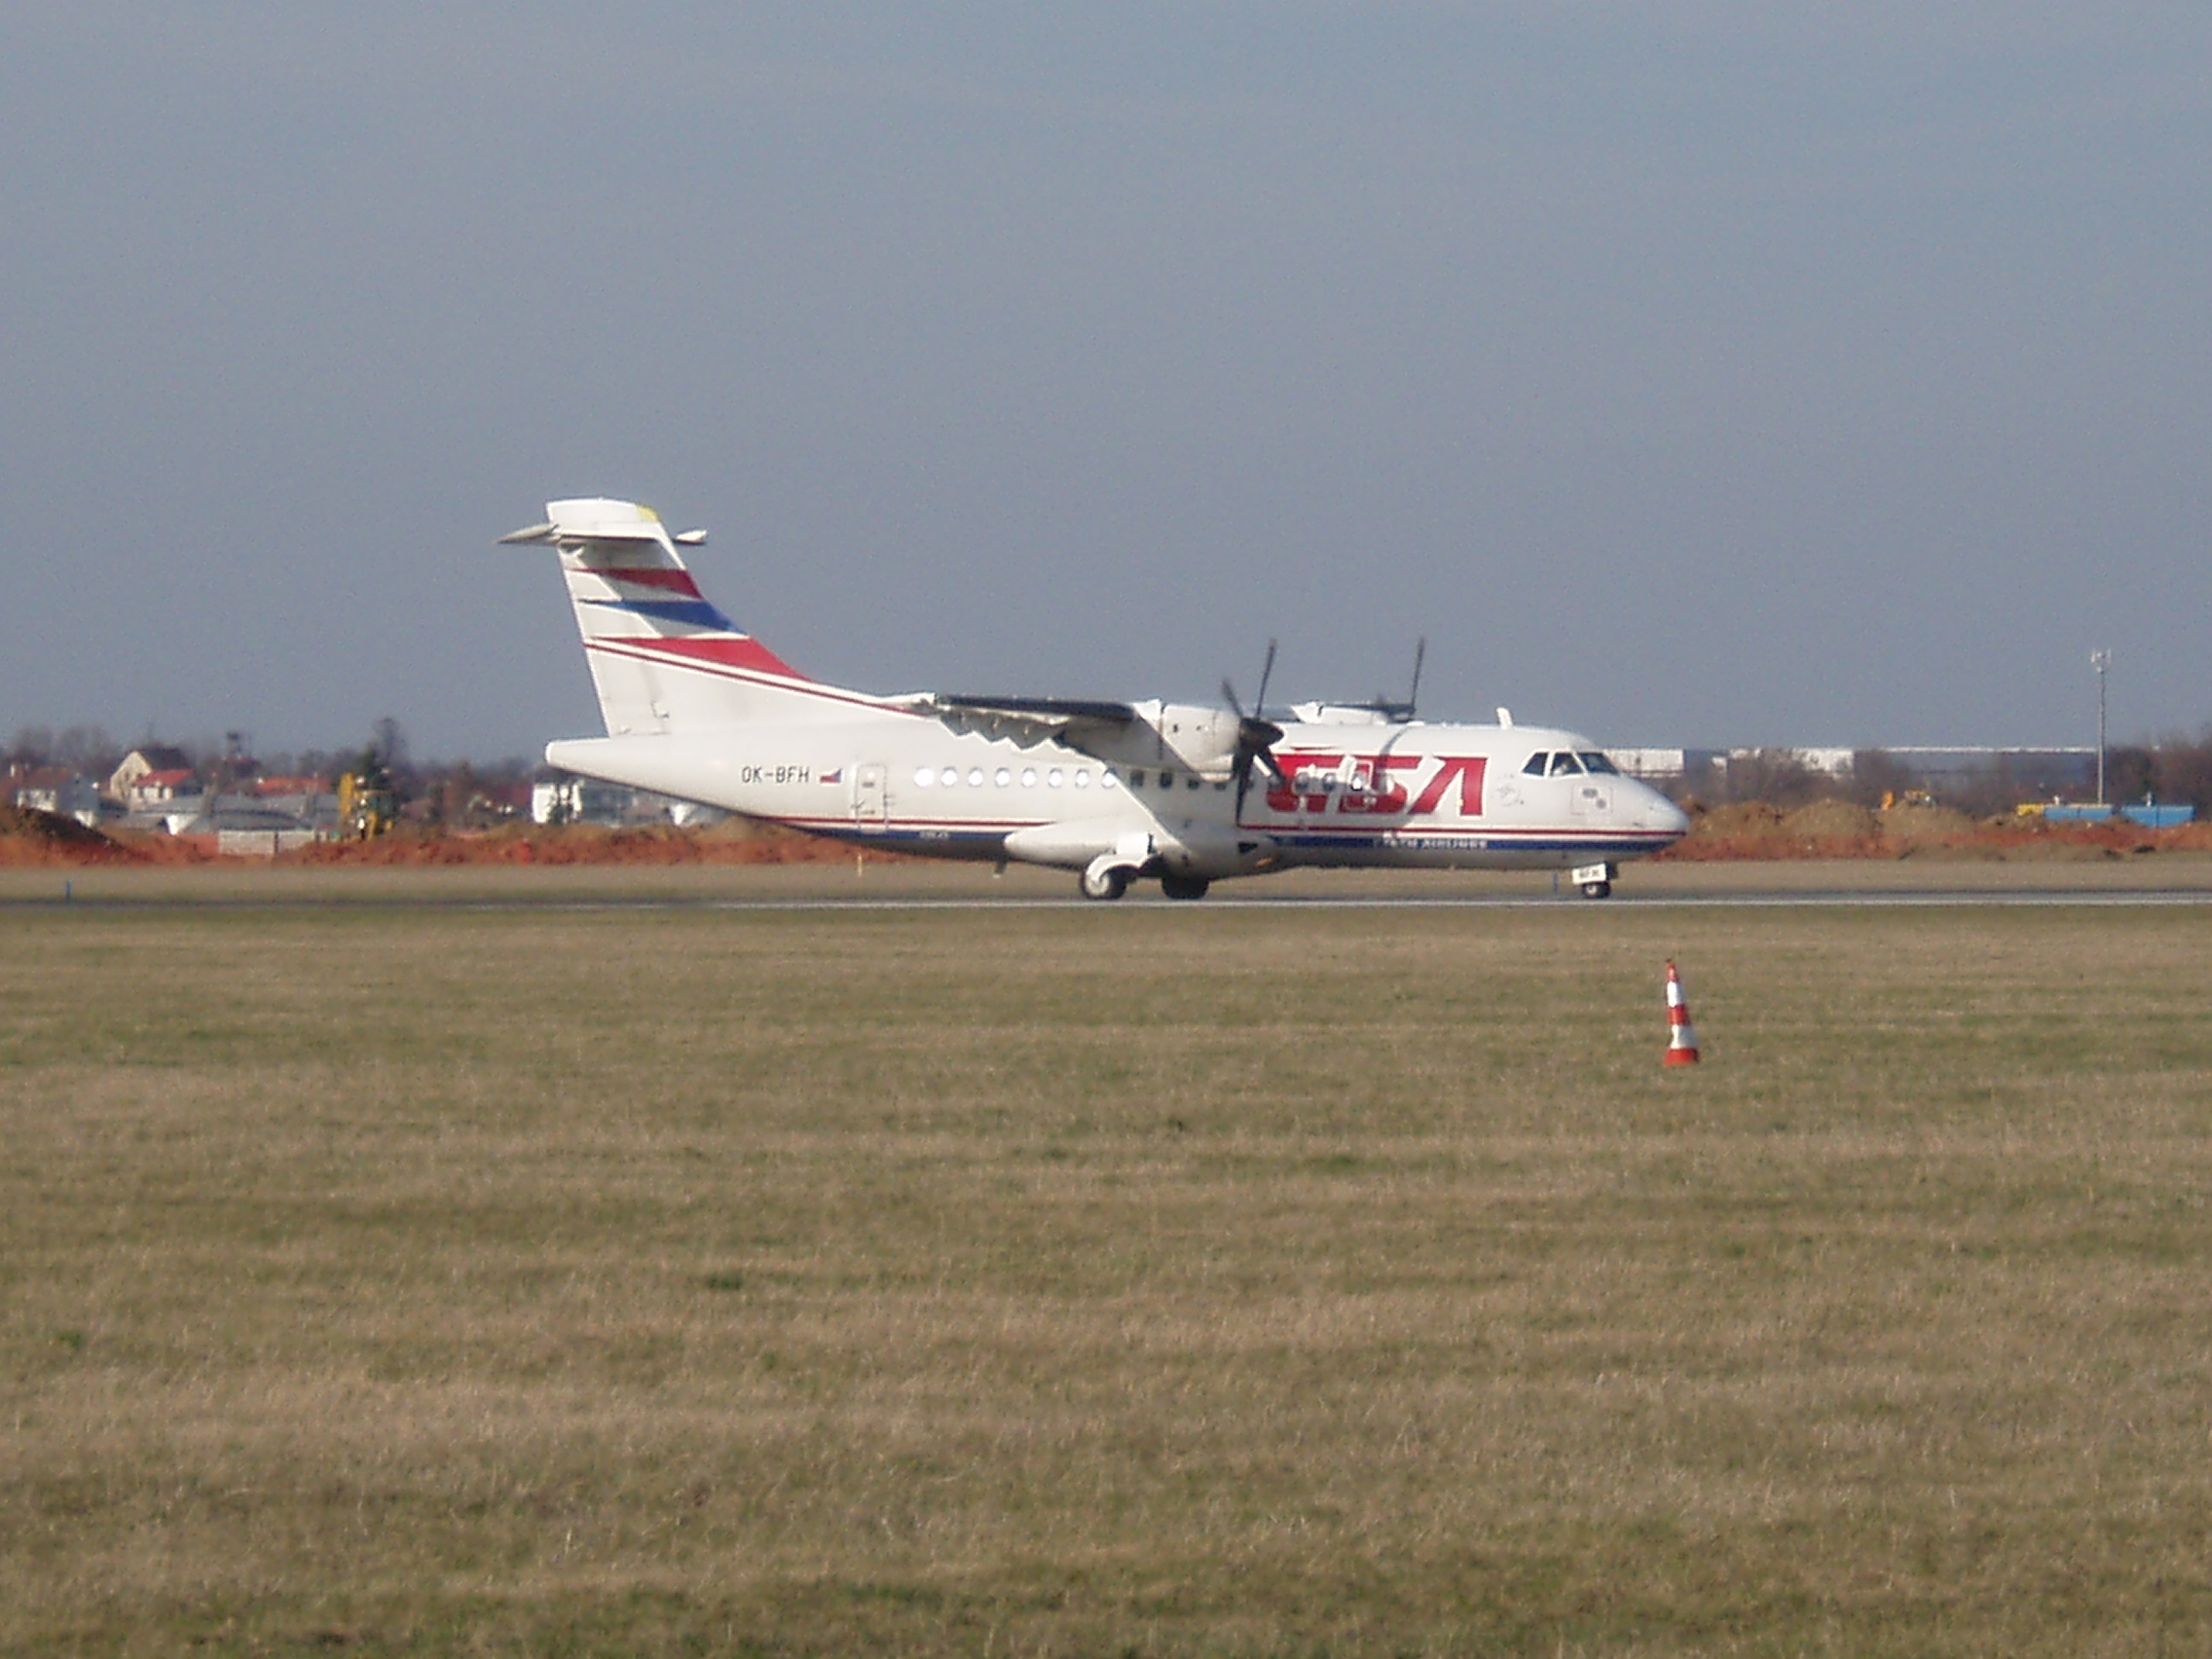
It will come to you as no surprise that I’ve always loved airplanes. Taking the yearly flight to Geneva since I was little and chilling out at the Ruzyne airport viewing terrace has always been an event as far as I can recall. In spring 2005, I started venturing to the airport on my own; it was just a short 10 km bike ride, plus, it was free (minus the cost of the bike). After discovering a few cool spots, I had to come back with a camera. Luckily we had a little point-and-shoot laying around at home, and thus began my spotting career.
Improvisation, the mother of all wisdom
When I look back at my first spotting years, it amazes my how slowly I progressed. Simple photography basics that I could have learned in, literally, a day, took me months to figure out by trial and error. Things like the exposure triangle, effects of aperture on DoF, the no-no of the digital zoom, to name just a few. These information were readily available everywhere around, yet I decided I didn’t need them!
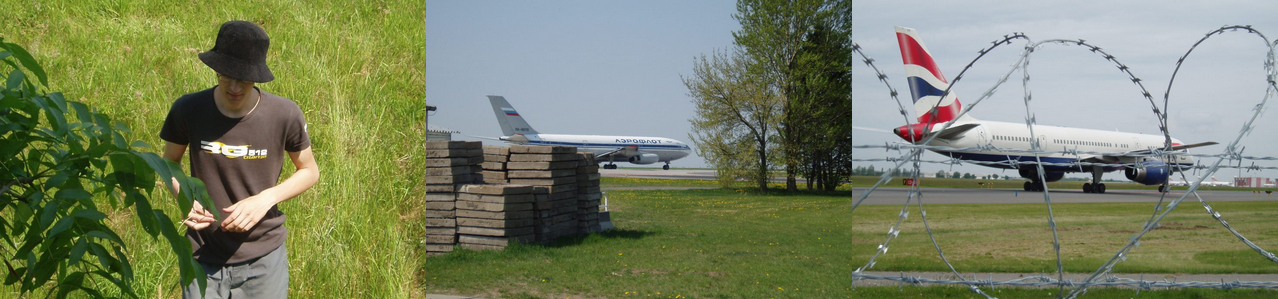
I also spent a long time (more than a year) with a camera not very well suited for planespotting – the Panasonic FZ7 with a zoom actioned by a button (talk about smoothness of operations). Some pictures from that camera can be seen in my Russsian Airlines article.
After shooting first with the family Olympus point and shoot and then the FZ7 for about 2 years, it was time for an upgrade.
Getting my first big boy’s camera
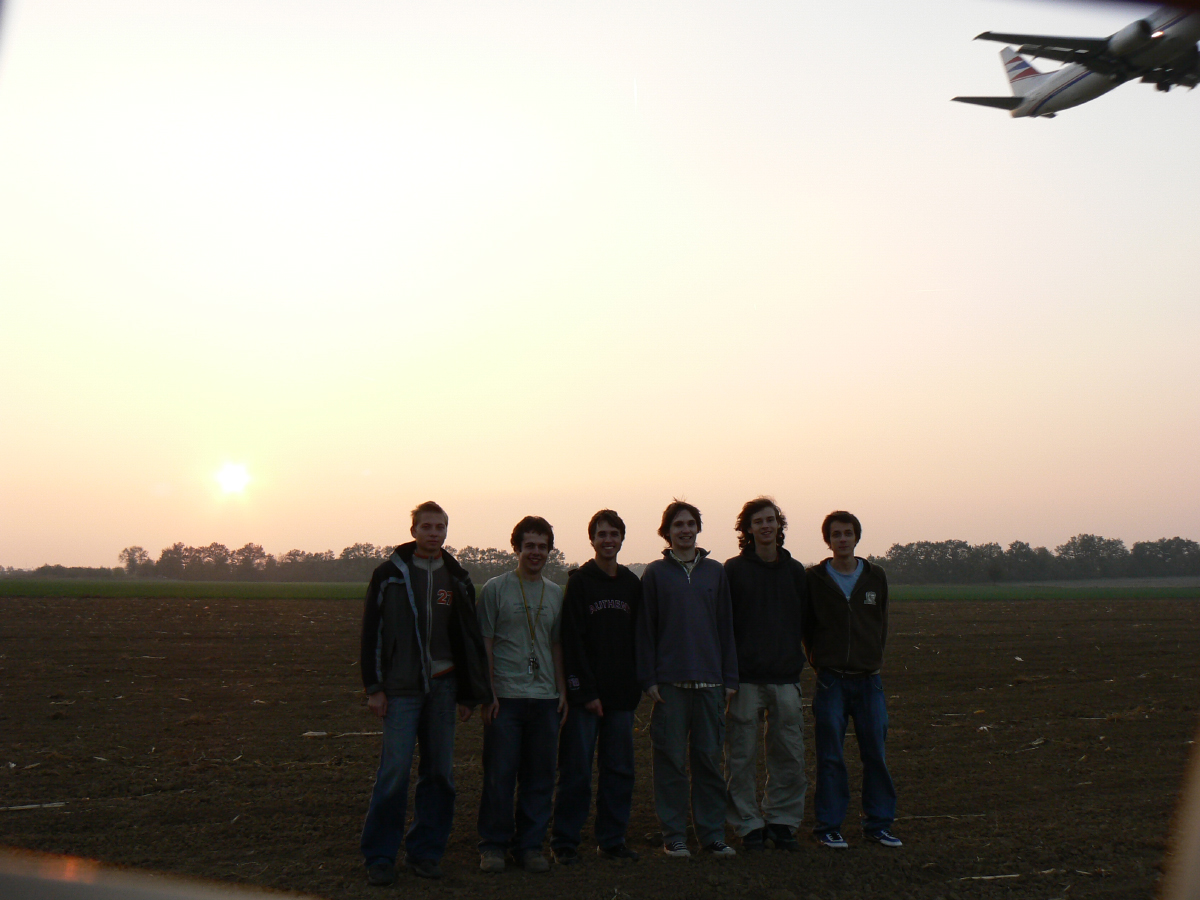
On a june morning of 2007, I took my first aviation photo with a DSLR. That day, my friend Keishi from Slovakia was briefly in Prague so we made a quick hop to PRG airport before heading to an air show outside of the capital. I remember saving up the first picture for the airport; the wait was unbearable! I let a few aircraft pass because I wanted the first picture to be perfect. It sure didn’t turn out as perfect as I expected, but the new gear was super exciting and smooth to use!
The new camera was a Canon 350d with a 18-55 and 55-200 lens. The first picture was shot in P mode, which I later switched to Shutter Priority, and apparently I thought that f/14 was an adequate aperture for that situation.
Did the new camera make my photos better? Well, yes and no. They got better in the sense that the output was of better quality. It was also certainly a LOT smoother to operate and a lot faster. But remember, I was still that lazy boy who didn’t want to put in the hours.
My photo equipment in 2017
I upgraded to a used 30D in 2008, got back to the 350D 3 years later after the shutter button got jammed, and finally got my latest body. In 2017, my equipment consists of the following :
Canon 70-200 f/4 L non IS
Canon 10-18 f/4,5-5,6 IS STM
Canon 50mm f/1,8 ver 1
+ Trusty old Canon 350D backup
Accessories: nothing special, just a spare battery and SD card
On a side note, I almost never use a flash, but I do own a Canon 430EX with a wireless trigger. I don’t carry them with me, but they can be very useful for static shots (even by day) or cockpit shots).
I have to say that the best 2 investments I have ever made were a DSLR, and without a shadow of a doubt, the 70-200L f/4. It is that good.
Today, I’m mostly satisfied with my gear. Sure, I could use a body with higher ISO and a longer lens, in the 4-500mm area. But I came to the realisation a few years back that with the current gear I have, in most situations I am only limited by my technical knowledge, my hand and my eye.
My camera settings for plane spotting
This has all become second nature to me, so it’s actually interesting to write about it; I might actually spot some bad habit! This is how I usually set up my camera, the following settings are rarely changed:
Mode : A (aperture priority)
Format : RAW
White balance : Auto
Drive : single shot
Auto-focus: single spot, center or according to situation
Metering : evaluative (matrix metering)
Picture style : only matters if in jpeg format
Sensor clean up on startup : off
Image review: off
And last but not least… shutter beep : deactivated
Why these settings
Aperture mode : I want to have the effects of aperture under control : sharpness, chromatic aberration, vignetting, depth of field etc. I know my lens’s characteristics and its peak sharpness, and set the corresponding aperture whenever the lighting conditions allow it. I very rarely use manual mode because of the risk of missing the exposure as light changes. I made this little survey on twitter and here are the results :
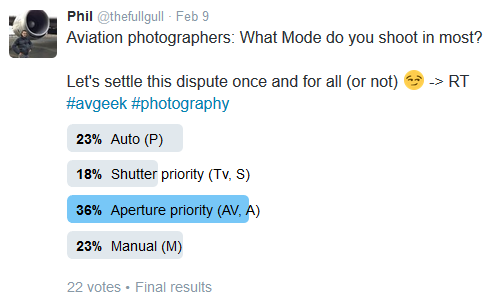 Aperture priority is the winner, but second is both Auto and Manual (the sampled audience is small though so it’s obviously not very representative of reality).
RAW format : I actually switched to raw pretty late, in 2013 when I went to Toulouse to see the first flight of the A350. The RAW format is about trading file size for editing options. It can be subtle sometimes, but RAW will allow you to extract more detail in the highlights and shadows from an image. What I find also very useful is the white balance editing. The main down side is the larger file size, which will eat up space a lot quicker. As for buffer issues, most DSLRs allow for at least 6-10 images in burst mode, which is plenty. When I know I won’t edit the pictures after the shoot, I switch the format to fine jpeg and even lower the resolution.
White balance : why bother, it’s easily edited without ANY loss when shooting in RAW
Single drive mode : personal preference here, I don’t like accidental bursts, and find it less distracting to have less mirror black-outs. Plus, with the limited buffer on the 600d, it’s always better to have some reserve.
Evaluative metering : this mode has worked best for me. Once you get used to the results it gets, you learn to work with it. I find spot metering to be harder to use for aircraft photography. Exposing is one of the most vital parts of photography, so it pays out to look into it a bit more, like this article by Nasim Mansurov.
Sensor cleanup : not having it saves precious time on startup!
Image review : no review saves a lot of battery, also I often turn the display brightness all the way down to save more energy.
Now should you listen to me? Well, you probably shouldn’t… This is my personal preference, and I bet there’s as many combinations as there are photographers.
Editing AKA after hours
Here’s where the eye for colors and light starts really coming into play. Even though the hardest part is getting the image (light, location, distance, rarity, luck, weather etc), editing is a vital part of getting the desired final quality out of an image.
I am currently quite satisfied with my color, contrast and sharpness outputs. It took me a long time to figure it out, with hundreds of hours with my weapon of choice: Adobe Photoshop (now CC 2015).
First of all, I only edit a tiny portion of what I shoot and select only the top sharpest and best exposed ones. When I’m out shooting, in my mind I only want to have minor tweaking to do when I come home. I don’t count on Photoshop to save a picture, and my cropping is always minimal. That way, I keep a maximum of details so when resizing, I get the sharpest look possible. What’s more, I have the option to print big. If a picture is out of focus or has undesired motion blur, I consider it trash.
My editing goes something like this.
– Open raw image in Photoshop
– Incredibly breathtaking image pops out!
But seriously, this is the part that is actually up to you. I trust my own eyes, but you might find other colors or contrasts appealing, so I’ll skip the editing part. I will do an article about my editing routine soon, hopefully you will find it useful.
So does gear matter?
Of course it does.
Will it guarantee you great pictures? Absolutely not. That’s where your steady hand and the time you put in on the field and in the editing software come into play.
Can you make a great picture with a 2017 smart phone? Sure you can. And people won’t even know it. It all depends on what you’re after.
My next investments
When the time is right, I’ll get a Canon 100-400 II and a mid-range canon, like 70D or 80D. I want to stay with an APS-C because of the crop factor. I also need to fill that 18 to 50 mm gap I have, so either the canon 17-40, 16-35, or a Sigma Art 18-35 f/1,8 would be great.
So what’s your aviation photo gear right now?
Til next time!